Swagat hai aapka mere blog par! Main ek professional video editor hoon aur pichle 7+ saalon se video editing industry mein active reh kar high-end colour grading aur video post-production par kaam kar raha hoon. Agar aap social media par hain, toh shayad aapne mera YouTube channel m4editorofficial (13.6K+ subscribers) ya mera Instagram page m4_editor_official (145K+ followers) dekha hoga, jahan main daily editing secrets aur trending colour presets share karta hoon. Is website par mera ek hi goal hai: har beginner editor ko real, practical aur advanced editing knowledge bilkul free mein dena taaki aap apne mobile se hi professional level ki videos create kar sakein.
Cinematic Colour Grading VN Templates: Complete Mobile Editing Guide M4 100
Aaj ke digital era mein social media par normal ya dull-looking videos ka koi maqsad nahi bacha hai. Chahe aap Instagram Reels bana rahe ho, YouTube Shorts, ya travel vlogs—jab tak aapki video mein ek cinematic look aur rich color tones nahi honge, tab tak viewers aapki video par rukenge nahi. Lekin problem yeh hai ki professional software jaise DaVinci Resolve ya Adobe Premiere Pro har kisi ke paas nahi hota aur unhe seekhna beginner ke liye kafi tough hota hai. Yahan par kaam aate hain Cinematic Color Grading VN Templates.
VN Video Editor mobile creators ke liye ek bohot hi powerful aur free app hai jo .cube LUTs (Look-Up Tables) aur custom QR code templates ko support karta hai. Lekin sirf ek template apply kar dena hi kaafi nahi hota. Agar aapko apni raw mobile footage ko ek Hollywood-style cinematic masterpiece mein badalna hai, toh aapko colour science, lighting adjustment, aur template fine-tuning ki basic knowledge honi zaroori hai. Is detailed guide mein hum A-to-Z seekhenge ki kaise aap VN templates ka sahi use karke apni videos ko professional cinematic look de sakte hain.
1. Moody Teal and Orange Colour Science Framework
Sabse mashhoor aur evergreen cinematic colour palette Teal and Orange hota hai. Yeh look Hollywood movies se le kar top travel creators tak sabhi use karte hain kyunki yeh human skin tones (Orange/Warm) aur background elements (Teal/Cool) ke beech ek natural visual contrast create karta hai.
Teal and Orange VN Preset Setup
Jab aap koi Teal and Orange VN template import karte hain, toh wo sabse pehle shadows mein cool blue/teal tones aur highlights mein warm orange tones add karta hai.
- Skin Tone Protection: Template apply karne ke baad hamesha VN ke Filter tab mein jaakar HSL (Hue, Saturation, Lightness) tool kholein. Orange aur Yellow channels ki saturation ko natural rakhein taaki skin oversaturated na dikhe.
- Shadow Depth Adjustment: Contrast slider ko thoda badhayein taaki dark areas mein rich shadows milein, lekin clipping se bachne ke liye Shadows slider ko -5 se -10 ke beech hi rakhein.
- Best Lighting Condition: Yeh tone sabse behtareen tab kaam karta hai jab aapki raw video Golden Hour (suraj ugane ya dhalne ke waqt) ya outdoor daylight mein shoot hui ho.
2. Moody Dark & Dramatic Aesthetic Grading
Agar aap street style videos, bike riding reels, ya moody cinematic travel clips edit kar rahe hain, toh Dark Cinematic templates aapke content ke liye best choice hote hain. Yeh style video se extra distracting colours ko remove karke ek focused, moody vibe generate karta hai.
Desaturated Moody Look Tuning
Is look mein colours ki brightness ko kam karke overall footage ko dim aur dramatic banaya jata hai.
- Lowering Overall Exposure: Template apply karne ke baad VN editor mein Exposure ko -10 se -15% tak kam karein. Isse immediate dark atmospheric tone milta hai.
- Green & Yellow Desaturation: HSL panel mein jaakar Green aur Yellow colors ki Saturation ko -50% tak gira dein. Isse background ke trees ya buildings ka loud colour mute ho jayega aur main subject pop-up hoga.
- Highlights Compression: Video mein bright sky ya light sources ko control karne ke liye Highlights slider ko -20% par set karein taaki blown-out areas fix ho sakein.
3. Vintage Film Emulation & Kodak/Fuji Tones
Retro aur 90s aesthetic videos aajkal Instagram par bohot tezi se trend kar rahi hain. Kodak Portra aur Fuji Film emulations wali VN templates aapki mobile footage ko ek warm, nostalgic, aur grainy film style look deti hain.
Warm Film Aesthetic Workflow
Film look pane ke liye colour tones ke saath texture add karna sabse zaroori hota hai.
- Adding Warmth (Temperature Shift): Curves aur Temperature slider mein jaakar Warmth ko +10 se +15 tak badhayein. Isse video mein ek soft golden tint aayega.
- Film Grain Texture: VN editor mein Grain effect ka use karein. Grain intensity ko 15-20% par rakhein. Yeh subtle noise video ko artificial digital smoothness se bachakar authentic film stock ka feel deta hai.
- Faded Black Effect: Curves Tool mein RGB channel par bottom-left node (Blacks) ko thoda upar uthayein. Isse shadows deep black hone ke bajaye soft greyish-black ban jayengi, jise Faded Shadows kehte hain.
4. Cyberpunk Neon & Night Life Colour Grading
Night videos, car/bike edits, aur city lights wali footages ke liye cyberpunk colour grading sabse best hoti hai. Is style mein Neon Pink, Magenta, Cyan, aur Deep Purple colours ka dominant use hota hai.
Night Visual Enhancement Techniques
Raat ke waqt shoot hui low-light videos ko grade karna thoda tricky hota hai kyunki wahan digital noise ka khatra zyada hota hai.
- Highlights & Midtones Separation: Template apply karne ke baad Cyan/Blue tones ko shadows mein aur Magenta/Pink tones ko highlights mein push karein.
- Vibrance vs Saturation: Colour intensity badhane ke liye Saturation slider ki jagah Vibrance slider ka use karein (+25%). Vibrance skin tones ko damage kiye bina muted colours ko boost karta hai.
- Noise Reduction Check: Low-light footage mein agar digital noise zyada ho, toh VN mein Sharpness ko zyada na badhayein, balki Contrast balance karke noise ko hide karein.
5. Natural Pastel Tones for Vlogs & Lifestyle Clips
Har video par heavy contrast aur dark tones ache nahi lagte. Aesthetic daily vlogs, cafes, aur fashion content ke liye Pastel Tones aur Soft Warm presets sabse suitable hote hain.
Soft Aesthetic Grading Blueprint
Pastel look ka main purpose video ko clean, bright, aur eye-soothing banana hota hai.
- Increased Whites & Soft Shadows: VN mein Whites ko +10 badhayein aur Contrast ko -10% kam karein. Isse harsh shadows gayab ho jayengi aur footage soft dikhegi.
- Muted Saturation: Overall Saturation ko thoda kam karein (-5% to -10%) aur Lightness ko badhayein.
- Clean White Balance: Video mein jahan bhi white elements hon (wall, shirt, sky), unhe completely neutral (neither too blue, nor too yellow) rakhein.
Technical Setup Guide: Raw Footage Shooting for Best Colour Grading
Chahe aap duniya ka sabse behtareen Cinematic Colour Grading VN Template use kar lein, agar aapki raw video kharab shoot hui hai, toh preset apply karne par video ke pixels phat jayenge. Behtareen colour grading results ke liye apni mobile camera settings ko is tarah set karein:
- Lock Camera Exposure: Video shoot karte waqt screen par tap karke exposure ko lock kar dein taaki lighting baar-baar change na ho.
- Shoot in FlaColouror Profile: Agar aapke phone camera mein Pro/Manual Mode ya HDR/LOG format ka option hai, toh usme shoot karein. Isse highlights aur shadows mein maximum dynamic range details save rehti hain.
- Avoid Digital Zoom: Video shoot karte waqt kabhi bhi digital zoom na karein. Digital zoom se sensor pixels destroy ho jate hain aur colour grade karne par noise aane lagti hai.
- 4K at 60 FPS Export Baseline: Video ko hamesha high bitrate par shoot karein taaki colour grading ke waqt colours smoothly blend ho sakein.
Colour Grading Optimisation: Fix Over-Saturated Tones in VN Editor
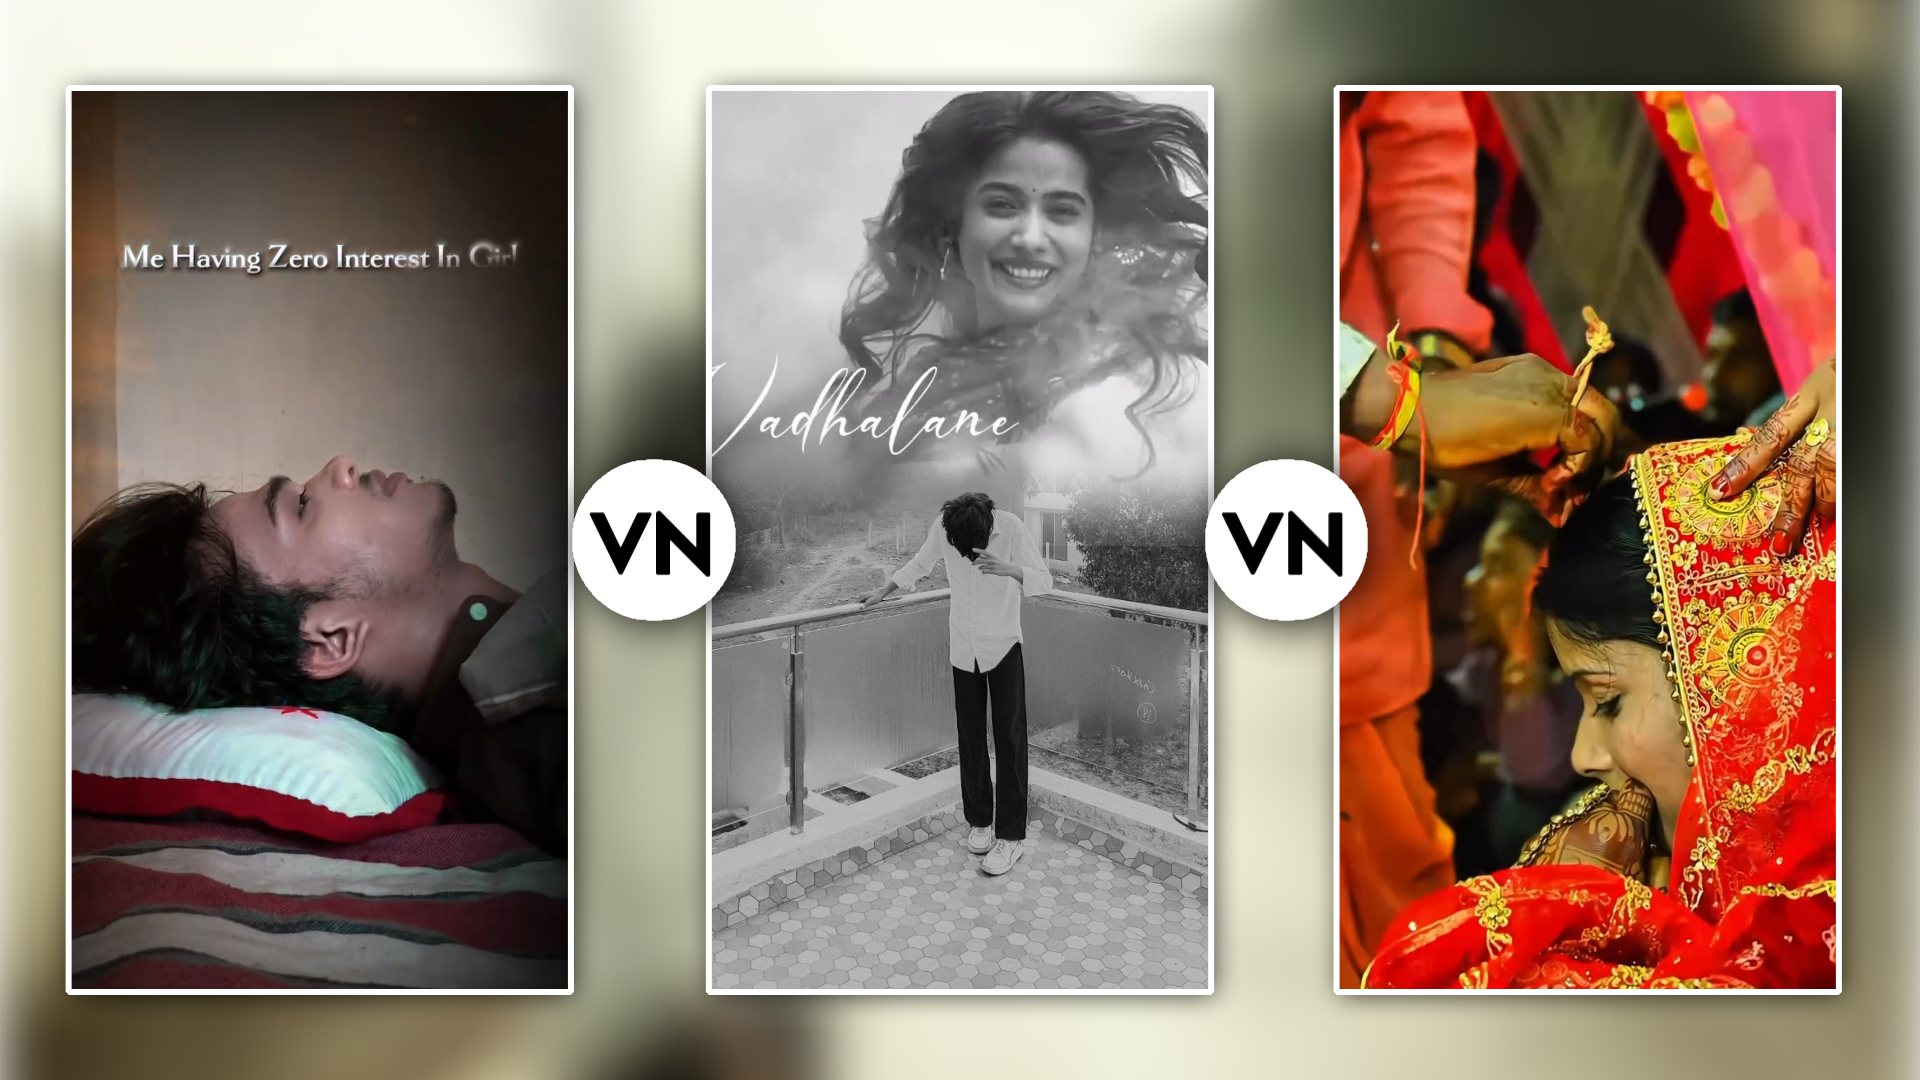
Take Screenshot 👇

Sada Khush Raho Tum Insta Viral Vn Template 👇
Take Screenshot 👇

Sad Lyrics Vn Template 👇 
Take Screenshot 👇

Aksar beginners jab kisi VN template ya .cube LUT ko import karte hain, toh wo direct video par apply karke export kar dete hain. Isse video overly saturated aur fake lagne lagti hai. Sahi professional workflow yeh hai:
- Step 1: Import Template: VN Filter Section Mein Target Preset/LUT Select Karein.
- Step 2: Adjust Filter Opacity: Preset Intensity Slider Ko 100% Se Kam Karke 60%-75% Par Lock Karein.
- Step 3: Base Correction: Adjust Tab Mein Jaakar Exposure, Contrast Aur Saturation Fine-Tune Karein.
- Step 4: HSL Correction: Orange/Red Channel Par Jaakar Skin Tones Specific Colours Ko Correct Karein.
Key Fine-Tuning Metrics:
- Filter Opacity Control: Template ki opacity ko hamesha 60% se 80% ke beech rakhein. 100% opacity par preset video ki natural details ko dominate kar leta hai.
- Luminance Balance: HSL panel mein Luminance slider ka use karke specific colours ki brightness ko independently control karein (e.g., Orange Luminance +10 for glowing skin).
Bonus Tip: Custom .cube LUT Import and Preset Management
VN Video Editor ka sabse bada advantage yeh hai ki aap isme PC-level ke .cube LUTs direct import kar sakte hain. Agar aapko koi preset pasand aata hai, toh aap use apna custom preset banakar save kar sakte hain.
Speed-Up Colour Workflow:
- Batch LUT Import: Apne phone ke File Manager mein ek ‘VNColourr Presets’ naam ka folder banayein. Wahan sabhi downloaded .cube files ko un-zip karke rakhein aur VN ke ‘Filter -> Plus Icon’ par tap karke pure folder ko ek sath import kar lein.
- Create Your Own Signature Look: Jab aap kisi footage ko apne hisab se perfect grade kar lein, toh VN mein “Save as Filter” option par tap karke apna personal preset create kar lein. Isse aap agli baar single click mein apni sabhi videos par same tone apply kar paayenge.
Conclusion
CinematiColouror Grading VN Templates mobile video editors ke liye ek powerful tool hain jo aapka hours ka kaam seconds mein kar sakte hain. Lekin ek sachhe editor ki pehchan yeh hoti hai ki wo sirf template par depend nahi rehta, balki use pata hota hai ki filter ki opacity kitni rakhni hai, skin tones ko kaise protect karna hai, aur lighting ke hisab se adjustments kaise karne hain. Aap jitni zyada VN ke Adjust tab aur HSL tools par practice karenge, aapki colour grading utni hi natural aur professional dikhegi. Apne phone ka camera uthayein, RAW footages shoot karein, aur aaj hi incolourr techniques ko apply karke apni editing skills ko next level par lekar jayein!