About the Author: Mera naam MD Maqsood hai aur pichhle 7+ saalon se main video editing aur visual storytelling industry me active hoon. Video editing mera profession hi nahi, balki daily passion hai. Main apne YouTube channel m4editorofficial (13.6K+ subscribers) aur Instagram community @m4_editor_official (145K+ followers) ke zariye daily trending editing breakdowns, transition hacks aur practical workflows share karta hoon. Mera main goal yahi hai ki har aspiring creator bina kisi paid course ke, ground reality aur practical visual techniques ko free me master kar sake.
Flow AI Se Viral Instagram Reel Kaise Banaye: Step-by-Step Practical Blueprint M4 138
Instagram ka algorithm 2026 me un creators ko sabse zyada reward kar raha hai jo high-retention visual content generate karte hain. Aaj ke time me basic transitions ya simple template cut-outs se million views lana mushkil ho chuka hai. Creators ko chahiye fast pacing, dynamic transitions aur sharp visual hook jo viewer ko pehle teen second me roke. Yahi par Flow AI video editing workflow ko completely transform kar deta hai.
Agar aap confused hain ki Flow AI se viral Instagram reel kaise banaye, to ye detailed deep-dive guide aapke liye hai. Hum step-by-step explore karenge ki kaise aap AI prompt control, framing, audio synchronisation aur retention pacing ka sahi use karke standard clips ko scroll-stopping viral reels me convert kar sakte hain.
1. Flow AI Kya Hai Aur Viral Reels Ke Liye Ye Game-Changer Kyun Hai?
Flow AI ek advanced visual generation aur motion interpolation tool hai jo raw frames, images ya prompt inputs ko smooth, hyper-realistic motion cuts aur transitions me convert karta hai.
Normal editing software me camera path manipulation aur complex morphing karne me ghanton lagte the. Flow AI continuous frame dynamics ko analyse karta hai aur do entirely different concepts ke beech seamless camera moves generate karta hai.
- Hyper-Smooth Transitions: Hard cut ki jagah cinematic push-in, rotation ya liquid morph automatically build karta hai.
- Consistent Character & Scene Styling: Style bleed ko control karta hai, jisse visual branding constant rehti hai.
- Instant B-Roll Creation: Script ke according visual metaphors ya dramatic scenes generate karta hai, jiske liye physical shoot ki zarurat nahi hoti.
2. High-Retention Reel Ka Master Plan: Flow AI Workflow
Ek reel tabhi viral hoti hai jab audience Watch Time aur Rewatch Rate dono high de. Flow AI use karte waqt execution ko 5 precise phases me divide karein.
Step A: Visual Scripting Aur Concept Boarding
Flow AI me direct bina direction ke jump mat karein. Pehle decide karein:
- Hook Scene (0 to 3 Sec): Ek disruptive visual (Jaise subject ka background lightning-fast change hona ya unexpected object morph).
- Core Value / Visual Build-Up (3 to 12 Sec): Storyline ya educational points ke continuous cinematic shifts.
- Ending Loop (Last 2 Sec): Final frame ko first frame se match karwana taaki infinite loop bane.
Step B: Precision Text-to-Motion Prompts
Flow AI natural descriptive language par best act karta hai. Vague prompts jaise “make a cinematic video” avoid karein.
- Recommended Prompt Structure: [Main Subject] + [Specific Action] + [Camera Movement] + [Lighting / Tone] + [Render Aesthetic]
- Example Prompt: “Cinematic low-angle tracking shot of a streetwear creator walking through a neon-lit futuristic alleyway, rapid camera push-in, smooth motion blur, 8k hyper-detailed, dynamic cinematic lighting.”
Step C: Flow AI Motion Settings Ko Tweak Karna
Flow AI dashboard ke andar ye teen parameters aapke clip ki quality define karte hain:
- Motion Intensity: Ise hamesha 5 se 7 ke beech rakhein. Zyada high karne se subject distort hone lagta hai, aur low karne par transition dull ho jata hai.
- Coherence Weight: Ise 70%+ par set karein taaki generated video frames flickery ya blurry na dikhein.
- Aspect Ratio: Hamesha strictly 9:16 vertical resolution select karein, taaki reel feed me black bars na aayein.
3. Viral Loop Strategy: Flow AI Se Seamless Loops Create Karna
Instagram algorithm ka primary ranking factor hai Loop Ratio—yani kitne percentage viewers reel ko ek se zyada baar dekhte hain. Seamless loops banakar aap audience ko realise hi nahi hone dete ki video kab restart ho gayi.
Practical Seamless Loop Hack:
- Apne final visual shot me subject ko bilkul center me lock karein.
- Flow AI ke Frame Matching Mode me first frame ko last frame ke reference ke taur par upload karein.
- Audio track me aakhri beat aur pehli beat ka sound wave seamless match karein.
- Jab video khatam hogi, wo instantly frame 1 se merge ho jayegi, jisse retention graph 110% cross karega.
4. Flow AI Generated Clips Ko Final Edit Me Assemble Karna
Flow AI se footage render karne ke baad reel ka 50% kaam bachta hai—jo hai post-production polish. Yahan par basic mobile editors jaise CapCut, Premiere Pro ya VN Editor ka proper use hota hai.
Editing Phase
Optimal Timing
Essential Element to Add
The Visual Hook
0.0s – 2.5s
Kinetic Text overlay + Deep Whoosh / Impact SFX
The Transition Bridge
2.5s – 7.0s
Flow AI Morph clip + Subtle Speed Ramp (0.8x to 1.4x)
Value / Climax
7.0s – 12.0s
Fast-paced visual B-rolls + High-contrast Colour Grade
The Seamless Outro
12.0s – 15.0s
Micro-zoom out matching with Frame 1 audio beat
5. Audio Design Aur Foley: Reel Ka Secret Retention Weapo
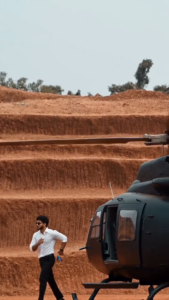
Ai Video Prompt 👇
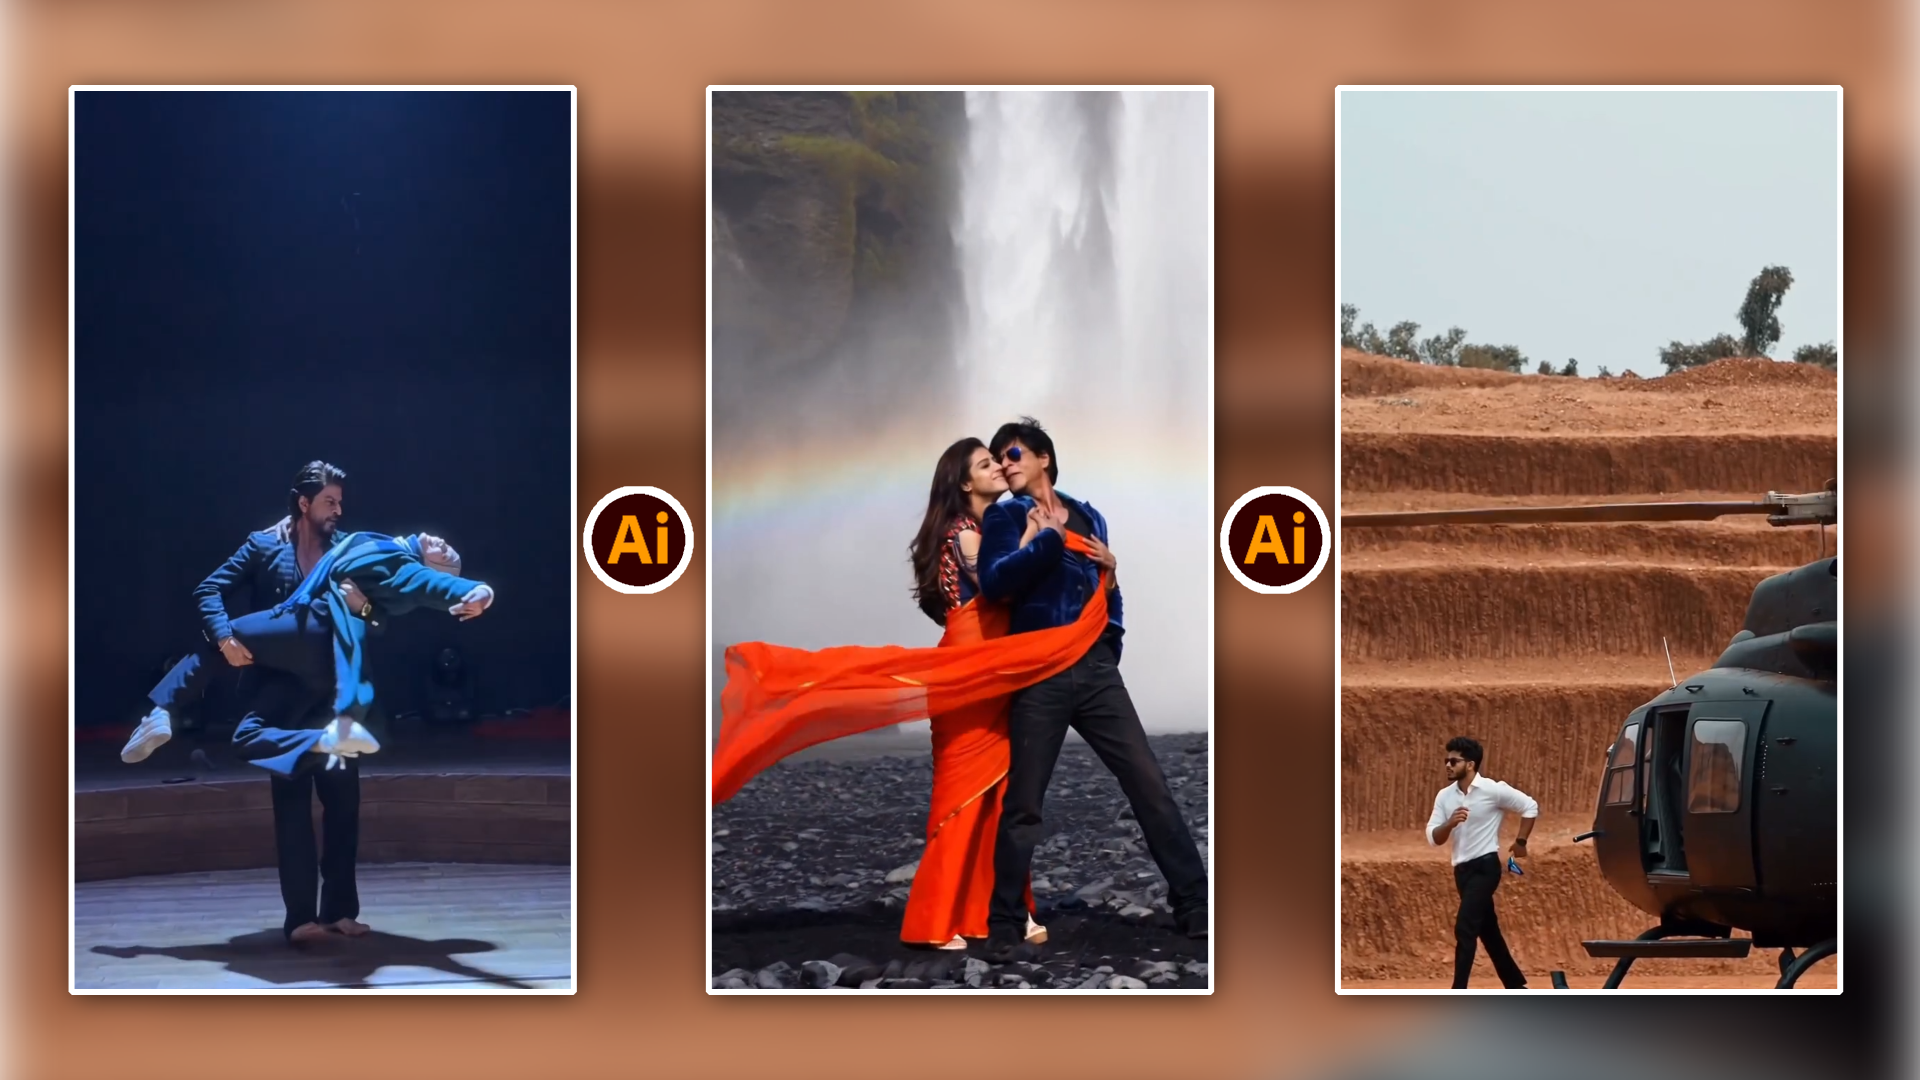
Use the uploaded reference image as the exact identity reference for the main character. Preserve his tace, racial structure, skin tone, hairstyle, beard, body proportions and overall appearance exactly. Do not change his identity.
Create a hyper-realistic cinematic luxury-action scene.
A stylish young man wearing a perfectly tailored dark brown three-piece suit is stepping out of a matte dark military-style helicopter parked on a green lawn in front of an elegant grand European-style building.
The helicopter door is open.
Start with a medium-wide cinematic side shot showing the helicopter and the character. He confidently steps d
Koi bhi AI video kitni bhi visually aesthetically pleasing kyun na ho, bina sharp audio design ke dead feel hoti hai. 70% retention visual se nahi, balki sound layer se driven hota hai.
- Impact On Transitions: Jab bhi Flow AI ka visual shift ho, exact usi frame par Bass Drop, Swoosh ya Camera Shutter SFX lagayein.
- Beat-Sync Editing: Video ke key camera speed changes ko background trending track ke kick drum ya 808 bass beats ke sath frame-match karein.
- Dynamic Audio Ducking: Agar reel me voiceover hai, to background music ko dialogue ke time -14dB se -18dB tak duck karein taaki clarity bani rahe.
6. Instagram SEO & Algorithm Hacks: Maximum Organic Reach Kaise Lein
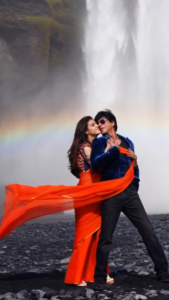
Video Prompt 👇

Flow AI se export ki gayi high-definition file ko Instagram compress na kare aur algorithm right audience tak deliver kare, iske liye specific export aur metadata rules follow karein:
- Export Settings: Codec H.264, Resolution 1080×1920 (FHD), Frame Rate 30 fps ya 60 fps, Bitrate hamesha 15 to 20 Mbps CBR par rakhein. 4K upload karne se bachein kyunki Instagram ka mobile compression engine 4K clips ko over-compress karke pixelated bana deta hai.
- High-Quality Uploads Toggle: Instagram Settings > Account > Data Usage me jakar “Upload at Highest Quality” ko mandatory ON rakhein.
- On-Screen Keyword Placement: Video ke pehle frame par caption text add karein (Jaise: “Flow AI Tutorial”, “Viral AI Reel Trick”). Instagram ka internal visual recognition AI on-screen text ko scan karke relevant feed me index karta hai.
- Contextual Captions: Caption me 2-3 focused sentences likhein jo core keyword include karein, sath me 4-5 high-relevance niche hashtags (Jaise: #FlowAI, #VideoEditingHacks, #ReelsEditing, #AIContentCreator).
Bonus Tip: Custom Visual Presets & Frame Blend Workflow
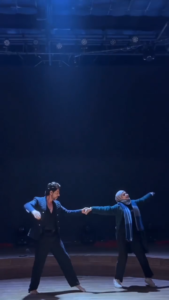

Ek professional look pane ke liye raw AI footage par hamesha ek final Master Colour Adjustment Layer lagayein.
- Contrast & Grain Layer: Flow AI renders aksar thode soft aur overly-digital lagte hain. Isko fix karne ke liye editing timeline par clip ke upar +3% Film Grain aur +5% Sharpness add karein.
- Speed Ramp Flow (0.7x to 1.5x): Flow AI clip ko seedha flat 1x speed par play mat hone dein. Transition ke start frame ko thoda slow (0.7x) karein aur transition point par fast (1.5x) ramp karein. Ye human hand-held pacing create karta hai jo dekhne me realistic aur high-budget lagti hai.
Conclusion
Flow AI se reels viral karna koi pure luck ka game nahi hai, balki calculated visual pacing, intentional sound design aur structured workflow ka combination hai. Aaj hi is step-by-step framework ko apne editing toolkit me implement karein, daily frame adjustments practice karein aur consistency ke sath testing shuru karein.