About the Author: Hey creators, main hoon MD Maqsood, ek professional video editor with over 7+ years of industry experience. Digital storytelling aur visual editing meri life ka core hissa raha hai. Main apne YouTube channel m4editorofficial (13.6K+ subscribers) aur Instagram platform @m4_editor_official (jahan 145K+ creators ki active community juddi hui hai) ke through genuine editing hacks, trending workflows, aur practical tips regularly share karta hoon. Mera mission simple hai: har aspiring creator bina kisi paid software ke real editing skills master kar sake aur trending content confidently deliver kar sake.
VN Template Link Kaise Use Kare: Step-by-Step Complete Beginner Guide
Aaj ke social media era mein video content ka standard bohot high ho chuka hai. Instagram Reels ho ya YouTube Shorts, har creator chahta hai ki uski clip fast-paced, well-synced, aur visually cinematic lage. Lekin problem kahan aati hai? Manual editing mein ghanto ka waqt lagna. Beat ke sath cuts match karna, complex keyframing set karna, aur dynamic zoom transitions banana har beginner ke bas ki baat nahi hoti.
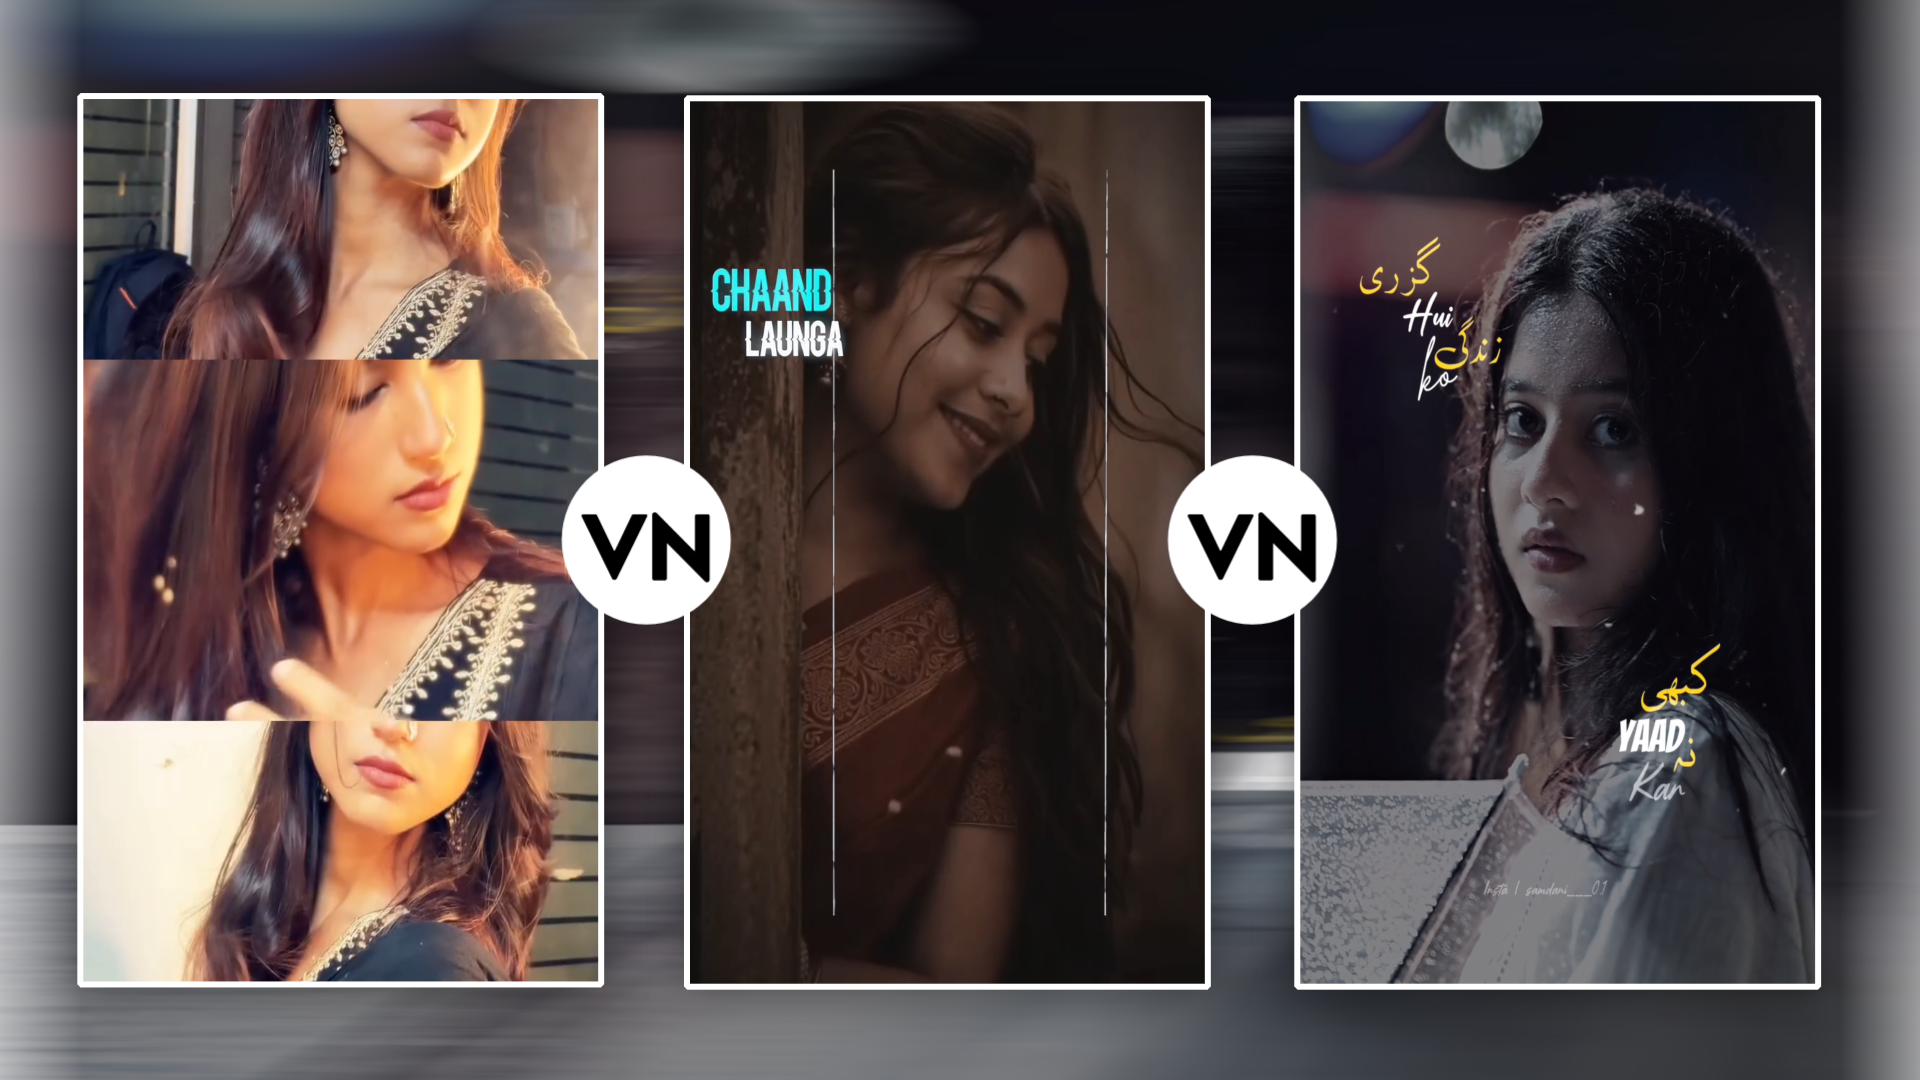
Yahi par enter karta hai VN Video Editor ka sabse powerful feature: VN Templates. M4 139
Agar aap bhi soch rahe hain ki trending short videos ko bina scratch se edit kiye pro-level look kaise diya jaye, toh yeh detailed roadmap aapke liye hai. Is guide mein hum detail mein cover karenge ki VN template link kaise use karein, safe links kahan se dhoondein, background technicalities kya hoti hain, aur export quality ko drop hone se kaise bachayein.
VN Template Kya Hota Hai Aur Yeh Kaise Kaam Karta Hai?
Simple shabdon mein samjhein toh VN Template ek pre-built project file hoti hai. Isme ek experienced editor pehle se saari complex settings lock kar deta hai:
- Beat Markers: Audio ke beat drops ke according precise cuts.
- In-Built VFX: Shake effects, flash overlays, zoom-in/out, aur motion blur.
- Colour Grading (LUTs): Dark moody, warm cinematic, ya high-contrast presets.
- Speed Curves: Time remapping (fast-to-slow speed transitions).
Jab aap kisi template link par click karte hain, toh yeh aapke VN Video Editor (VlogNow) app mein open hokar ek pre-designed timeline create kar deta hai. Aapko sirf placeholders (blank slots) mein apne photos ya video clips replace karne hote hain. Result? Ghanto ka manual editing work sirf 2 se 3 minutes mein complete.
Authentic VN Template Links Kahan Se Download Karein?
Har template link safe ya working nahi hota. Bohot se links broken hote hain ya spammy ad-networks par redirect karte hain. Authentic VN template links dhoondne ke standard sources:
- Official VN Code Hub & In-App Discovery: VN app ke home tab par ek built-in template library hoti hai. Yahan daily fresh trending codes upload hote hain jo 100% verified aur virus-free hote hain.
- Verified Editing Communities (YouTube & Telegram): Trusted video editing channels description boxes mein direct links share karte hain. Ye links typically [https://www.vlognow.me/template/](https://www.vlognow.me/template/)… ya specific deep links se start hote hain.
- Instagram Reels (Audio/Link Bio): Trending reels ke bio ya stories mein creators original project link provide karte hain, jise one-tap mein open kiya ja sakta hai.
Pro-Tip: Hamesha dhyan dein ki link trusted source se ho taaki aapka phone kisi malicious third-party website par redirect na ho.
Step-by-Step Process: VN Template Link Kaise Use Kare
Yeh step-by-step practical walk-through beginner editors ke liye design kiya gaya hai taaki pehli hi bar mein seamless editing ho sake:
1. Link Par Click Karein Aur Target App Select Karein
Sabse pehle, jo VN template link aapko mila hai uspe single tap karein. Agar link browser (Chrome ya Safari) mein khulta hai, toh automatically ek prompt aayega: “Open in VN”. Uspe click karein. Agar prompt na aaye, toh page par bane “Download Template” ya “Open Project” button par tap karein.
2. Template Assets Ko Sync Hone Dein
Template open hote hi VN app screen par us project ki preview video chalegi. Yahan aapko file size, creator credit, aur aspect ratio (9:16 portrait ya 16:9 landscape) show hoga. Niche ek Download ya Use Template ka blue button dikhega. Us par click karein. Yeh process template ke music, transitions, aur graphic overlays ko aapke device cache mein load karega.
3. Clips Aur Photos Ka Smart Selection
Ab aapke phone ki gallery popup hogi. Screen ke bottom mein placeholders dikhenge (jaise: Clip 1: 0.8s, Clip 2: 1.4s, Clip 3: 0.5s).
- Clip Length Match Karein: Hamesha wahi video select karein jisme subject centred ho. Agar template mein duration 0.5 second ka hai, toh action-packed moment hi pick karein.
- High-Res Media: Hamesha sharp, well-lit videos select karein. Blurred videos template effects ke sath aur kharab lagne lagti hain.
4. Custom Crop Aur Framing Adjustments
Media import hote hi VN timeline par har clip ka thumbnail aayega. Agar aapka face ya subject frame se cut ho raha hai:
- Clip par tap karein aur “Crop” ya “Replace” select karein.
- Framing ko adjust karke centre-weighted banayein taaki fast zoom transitions mein subject focus mein rahe.
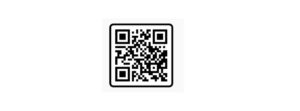
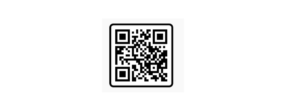
VN Code (QR Code) Ko Scan Karke Template Kaise Load Karein?
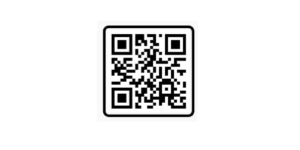
Template links ke alawa creators frequently VN Codes (QR Images) share karte hain. Agar aapke paas link ki jagah image format mein QR code hai, toh yeh process follow karein:
- Step 1: QR code wali image ko apne mobile gallery mein save karein.
- Step 2: VN app open karein aur top-right corner par bane Scan Icon (three dots ya QR icon) par click karein.
- Step 3: Camera viewfinder open hoga; vahan top-right mein Gallery option select karein aur saved QR image choose karein.
- Step 4: App automatically QR scan karega aur direct project template load kar dega. Niche diye gaye Download Template par click karke editing start karein.
Dynamic Sound Syncing: Custom Music Ke Sath Template Kaise Match Karein?
Bohot baar template ka visual style pasand aata hai, lekin background song trending nahi hota ya copyright issues generate kar sakta hai. Isko seamlessly replace karne ka smart tarika:
Step
Action Detail
1. Mute Template Audio
Timeline ke top soundtrack bar par jaakar Mute icon tap karein.
2. Add New Trending Audio
Tap to add music icon select karein aur trending audio file import karein.
3. Beat Marker Alignment
Music track par tap karein aur Beats option enable karein.
Pro Optimisation: Export Settings Jo Video Quality Drop Hone Se Bachayein
Bohot se creators complain karte hain ki template use karne ke baad jab reel export hoti hai, toh pixelate ho jaati hai ya compression artefacts dikhte hain. Professional look ke liye yeh export parameters set karein:
- Resolution: Hamesha 1080p (FHD) select karein. Mobile social platforms par 4K upload karne par algorithm use heavily compress karta hai, jabki optimised 1080p sharpest render deta hai.
- Frame Rate (FPS): 60 FPS select karein agar slow-motion shots hain, otherwise standard 30 FPS cinematic flow ke liye ideal hai.
- Bitrate: Isse Auto par na chhoden. Slider ko manual karke High / 15-20 Mbps par set karein. Isse fast transitions ke dauran pixels blur nahi honge.
Bonus Tip: Custom Colour Grading Overlay Trick

SCREENSHOT👇
Templates default filters apply karte hain jo har skin tone par match nahi hote. Template customize karne ke baad:
- Main video timeline ke upar “Filter” tab par jayein.
- Filter presets apply karne ki jagah “Adjust” section open karein.
- Contrast: +5 to +8 boost karein.
- Sharpening: +15 add karein (yeh compression loss ko counter karta hai).
- Highlights: -10 set karein taaki template flashes screen ko overexpose na karein.
Frequently Asked Questions (FAQs)
Q1. Kya VN Template link use karne ke liye VN Pro subscription lena zaroori hai?
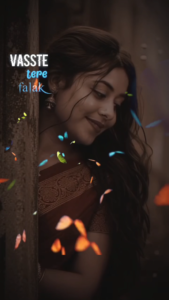
SCREENSHOT👇
Nahi. VN app ke 90% se zyada templates completely free hote hain. Agar kisi template mein paid assets use nahi hue hain, toh aap bina watermark aur bina single rupee pay kiye video export kar sakte hain.
Q2. Link click karne par template download kyu nahi hota?
Iske do common reasons hote hain: ya toh aapka VN app outdated hai, ya link browser context mein open ho raha hai. App Store se VN app ko latest version par update karein aur link ko default browser ki jagah direct redirect allow karein.
Q3. Kya hum export hone ke baad VN watermark ko remove kar sakte hain?
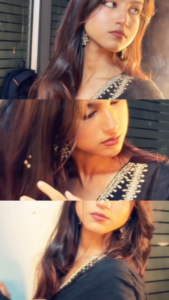

Yes. VN default end-screen watermark timeline ke aakhri part mein ek alag clip hoti hai. Aap us ‘Input Title’ black screen clip par tap karke simply Delete button daba sakte hain.
Conclusion
VN templates content creation ko super-fast aur effortless bana dete hain, especially un creators ke liye jo complex software seekhe bina consistent videos post karna chahte hain. Lekin hamesha yaad rakhein: template sirf ek structure deta hai, content ki actual value aapke visual selection aur creative framing par depend karti hai. Practice continue rakhein, naye camera angles test karein, aur in steps ko follow karke clean, professional reels export karein. Happy editing!