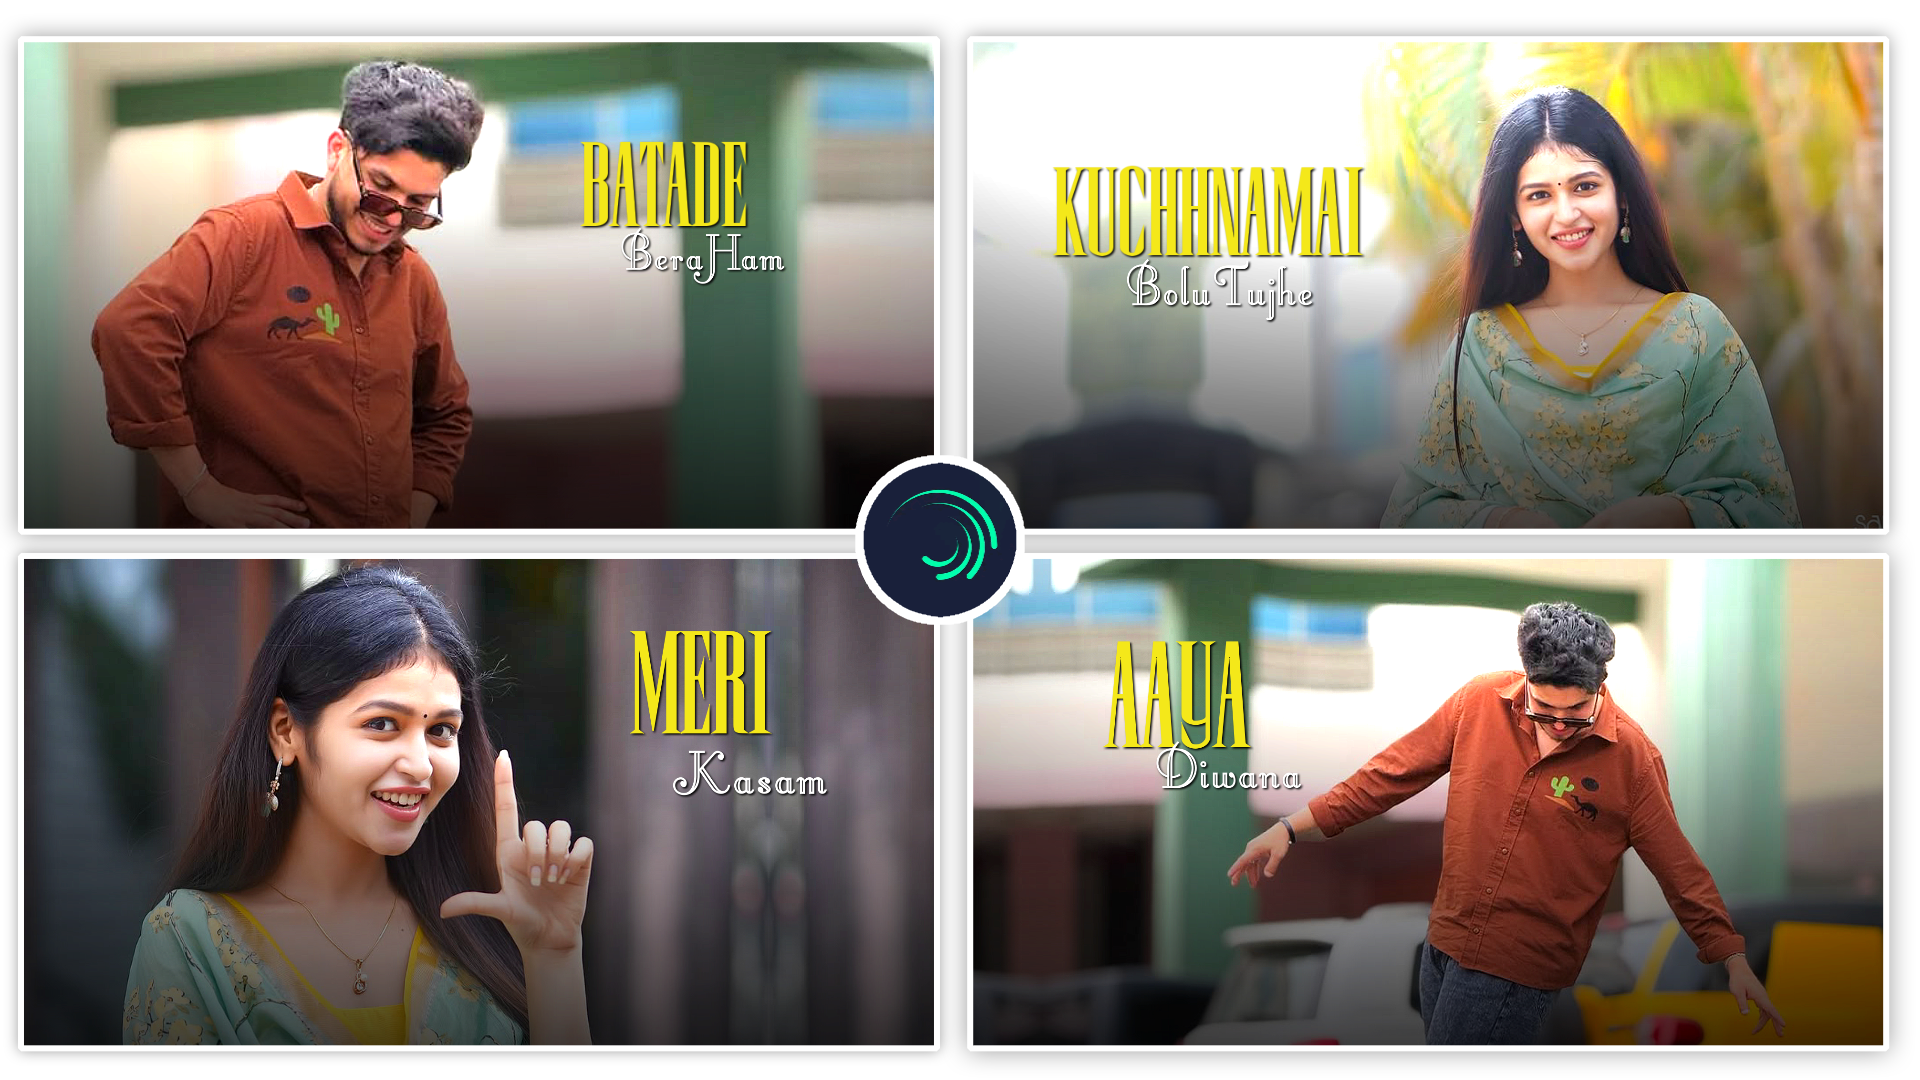
Full Project 👇
Hello creators! Digital duniya ke is creative safar mein aapka bahut-bahut swagat hai. Main ek professional video editor hoon aur is fast-paced content creation industry mein mujhe 7 saal se bhi zyada ka practical, ground-level experience ho chuka hai. Humari aur aapki is creative journey ke chalte aaj YouTube channel “m4editorofficial” par 13.6K subscribers aur Instagram page “m4_editor_official” par 145K followers ki ek behad strong, active, aur passion-driven community ban chuki hai. Is platform ko banane ka mera ek hi vision hai—barson ka wo premium editing knowledge, secret workflows, aur trending mobile editing techniques aapko bilkul free mein sikhana. Mera aim hai ki har beginner in practical tutorials ko follow karke ek pro editor bane aur apni videos se internet par apna ek alag trend set kare.
The Ultimate Lyrics Video Editing Tutorial: Mobile Apps Step-by-Step Guide & 3D Hacks M4 50
Aaj ke social media era mein, chahe Instagram Reels ho, YouTube Shorts ho, ya WhatsApp Status, lyrics-based content sabse zyada viral hone wala format ban chuka hai. Lo-fi music lovers, sad song aesthetic fans, aur trending audio creators ke beech ek well-edited text video ka craze aasmaan chhu raha hai. Lekin ek viral reel banana sirf screen par text type karna nahi hota. Isme font psychology, perfect beat syncing, color grading, aur har application ke tools ko master karne ka ek poora science chhupa hota hai.
Agar aap search kar rahe hain ki ek simple song ko visually appealing masterpiece mein kaise badla jaye, toh ye Lyrics Video Editing Tutorial aapke liye ek complete masterclass saabit hoga. Poshle kuch samay se creators sirf ek app par depend nahi hain, isliye aaj hum na sirf top apps ke naam janenge, balki har application mein practically lyrics editing kaise karte hain, iska step-by-step process bhi sikhenge. Sath hi, hum sabse demanded topic “Alight Motion Application Se 3D Video Editing Kaise Kare” ko bhi detail mein cover karenge. Ye article bilkul WordPress ready hai, toh aaiye bina kisi deri ke shuru karte hain!
Top Mobile Apps For Professional Lyrics Video Editing (With Step-by-Step Process)
2026 mein pro editors apne workflow ko fast aur premium banane ke liye alag-alag apps ka use karte hain. Har app ka apna ek special feature hota hai. Niche hum 4 sabse powerful apps aur unmein editing karne ka practical tarika detail mein samjhenge:
1. CapCut Mein Lyrics Video Kaise Banaye (Best For Auto-Lyrics & Fast Edits)
CapCut aaj ke time mein fast editing ke liye sabse popular app hai. Iska ‘Auto-Captions’ feature aapke ghanto ke manual typing work ko seconds mein khatam kar deta hai.
Step-by-Step Editing Process:
- Step 1: Import Media: Sabse pehle CapCut open karein aur ‘New Project’ par click karke apna aesthetic background video ya image import karein.
- Step 2: Add Audio: ‘Audio’ option par jayein aur apna pasandida gaana (mp3 ya video se extract karke) timeline par add karein.
- Step 3: Auto Lyrics Generate Karein: ‘Text’ option par click karein aur phir ‘Auto Lyrics’ select karein. Audio ka source choose karein (Voiceover ya Original Sound) aur ‘Start’ par click kar dein. CapCut khud gaane ko sunkar text generate kar dega.
- Step 4: Styling & Font: Generated text par click karein aur ‘Style’ tab mein jayein. Yahan se ek trendy font (jaise ‘Classic’ ya ‘Bold’) choose karein. Aap ek sath sabhi lyrics ka color aur stroke change kar sakte hain (Batch edit).
- Step 5: Add Animations: Text par click karke ‘Animation’ mein jayein. ‘In’, ‘Out’ aur ‘Loop’ animations milti hain. Lyrics ke liye ‘Typewriter’ ya ‘Fade In’ animation sabse smooth lagti hai.
- Step 6: Export: Video ko 1080p aur 60fps par set karke export kar lein.
2. Node Video Se Glowing Saber Lyrics Kaise Banaye (Best For Neon/Lofi Edits)
Node Video mobile ka “After Effects” mana jata hai. Lofi videos mein jo chamakta hua neon text (Saber effect) hota hai, wo is app se sabse best banta hai.
Step-by-Step Editing Process:
- Step 1: Basic Text Ready Karein: Node Video mein directly text animate karna thoda mushkil hai. Isliye pehle kisi bhi app (jaise PixelLab ya VN) mein black background par white text ke sath basic lyrics video bana lein.
- Step 2: Import In Node Video: Node Video open karein, ‘+’ icon par click karke ‘Media’ se apni wo black background wali lyrics video import karein.
- Step 3: Asset Store Use Karein: Niche ‘+’ icon par dobara click karein, ‘Asset Store’ mein jayein. Yahan aapko ‘Glow’ ya ‘Saber’ effect dikhega, us par click karein.
- Step 4: Customize Saber Effect: Saber effect apply hote hi aapka white text ek chamakti hui neon light mein badal jayega. Aap ‘Color’ option mein jaakar ise Neon Blue, Pink ya Red kar sakte hain. ‘Intensity’ ko adjust karein taaki glow natural lage.
- Step 5: Blend Mode: Agar background black ki jagah koi aur video hai, toh Text layer ka blend mode ‘Screen’ par set kar dein, jisse black color gayab ho jayega aur sirf glowing text dikhega.
- Step 6: Export: Render button (green play icon) par click karke video save kar lein.
3. VN Video Editor Mein Smooth Text Editing Kaise Kare (Best For Manual Keyframing)
VN Video Editor apne lag-free interface aur curve graphs ke liye jana jata hai. Jin creators ko clean, minimal, aur manual precision wali editing pasand hai, unke liye ye best hai.
Step-by-Step Editing Process:
- Step 1: Project Setup: VN app mein ‘New Project’ banayein aur background add karein. ‘Tap to add music’ par click karke apna song import karein.
- Step 2: Audio Markers Lagayein: Music timeline par click karein aur ‘Beats’ icon par jayein. Gaane ko sunein aur jahan bhi singer naya word bolta hai, wahan red marker (flag) laga dein. Isse timing exact match hogi.
- Step 3: Add Text: ‘Tap to add subtitle’ par click karein. Apna pehla lyric type karein, ek minimal font (jaise ‘Signature’) choose karein.
- Step 4: Manual Keyframing: Text layer ke shuru mein timeline par ek ‘Keyframe’ (diamond icon) add karein aur text ko thoda neeche drag kar dein. Thoda aage badhkar ek aur keyframe lagayein aur text ko wapas center mein le aayein.
- Step 5: Use Curve Graph: Keyframes ke beech wale hisse par ‘Curve’ option par click karein aur ‘Ease In-Out’ graph choose karein. Isse aapka text bilkul makkhan (smooth) ki tarah slide hokar screen par aayega.
- Step 6: Duplicate & Replace: Baar-baar keyframe lagane se bachne ke liye, pehle text layer ko ‘Duplicate’ karein, use agle beat marker par drag karein, aur text ‘Edit’ karke naya word likh dein.
Scan App Name Google Lens 👇
4. Alight Motion Application Se 3D Video Editing Kaise Kare? (Powerful Hacks)
Normal flat text ab thoda purana ho chuka hai. Agar aap janna chahte hain ki ek high-level cinematic Alight Motion Application Se 3D Video Editing Kaise Kare, toh ye step-by-step process follow karein:
Step-by-Step 3D Camera & Text Process:
- Step 1: Project & Lyrics: Alight Motion open karein, aspect ratio set karein. Apna background add karein aur normal tarike se apne sabhi text layers ko gaane ke beat ke hisab se set kar lein.
- Step 2: Enable 3D Mode: Right side mein jo ‘+’ icon hai us par click karein, ‘Objects’ mein jayein aur ‘Camera’ add karein. Top right corner se camera view ko ‘On’ kar dein.
- Step 3: Create Null Object: Wapas ‘+’ icon par click karein aur ek ‘Null Object’ create karein. Ab apni sabhi Text layers aur Camera layer ko select karein aur unhein Null Object ke sath “Parent” (Link) kar dein. (Ye option layer ke upar milta hai).
- Step 4: Animate The Scene: Ab aapko alag-alag text ko animate karne ki zarurat nahi hai. Sirf ‘Null Object’ par click karein, ‘Move & Transform’ mein jayein. Z-axis (Zoom tool) par keyframes lagayein. Jab aap Z-axis ko badhayenge, toh aisa lagega ki camera ek text ke paas se cross hokar doosre text ki taraf udd raha hai.
- Step 5: Apply Extrude Effect: Text ko real 3D block banane ke liye, text layer par click karein, Effects > Add Effect > 3D > ‘Extrude’ select karein. Iski depth badhane se text flat nahi balki mota aur 3D dimension wala dikhne lagega.
- Step 6: Add Motion Blur: Smoothness ke liye sabhi layers par ‘Motion Blur’ effect apply karein. Ye aapke 3D camera movement ko ekdum PC-level jaisa realistic bana dega.
Bonus Tip: Professional Workflow Aur Presets Se Time Bachayein
Ek experienced video editor aur ek beginner ke beech ka sabse bada difference editing speed ka hota hai. Apna time bachane ke liye ye smart hacks use karein:
- XML Presets Ka Use Karein: Alight Motion mein jab bhi aap ghanto mehnat karke koi perfect 3D text animation, shake effect, ya color grading (CC) banate hain, toh use hamesha XML file ke roop mein save kar lein. Agli baar aapko zero se shuruat nahi karni padegi.
- Readability Badhayein: Agar aapka text background mein mix ho raha hai, toh color badalne ki jagah text ke piche ek halki si ‘Drop Shadow’ (Opacity 50-60%) add kar dein. Text background se alag hokar instantly pop-up dikhne lagega.
Common Mistakes Beginners Should Avoid (Ye Galtiyan Na Karein)
Ek perfect edit ke liye sirf tools aana kafi nahi hai, balki ye janna bhi behad zaruri hai ki editing mein kya NAHI karna hai:
- Safe Zone Ko Ignore Karna: Instagram Reels aur YouTube Shorts ka ek UI interface hota hai (Right side mein Like/Share buttons aur neeche caption). Hamesha apne lyrics ko screen ke center aur safe zone mein hi rakhein, warna text buttons ke piche chhup jayega.
- Bina Graph Ke Animation (Robotic Look): Agar aap VN ya Alight Motion mein keyframes lagate hain lekin ‘Easing Graphs’ ka use nahi karte, toh aapka text bohot robotic aur jhatke ke sath move karega. Smooth aur natural bounce ke liye hamesha Graph Editor ka istemal karein.
- Mismatched Audio-Visual Sync: Gaane ka bol nikal chuka hai aur text aade second baad aa raha hai—ye aapki reel ka poora feel kharab kar deta hai. Audio waveform ko zoom karke dekhein aur text ko exact beat/marker par hi place karein.
Conclusion
Doston, ek outstanding Lyrics Video Editing Tutorial ka sabse bada secret yahi hai ki aap kaunsa tool kis kaam ke liye use kar rahe hain. CapCut fast auto-lyrics ke liye best hai, Node Video glowing effects ke liye, VN smooth manual keyframing ke liye, aur Alight Motion cinematic 3D text banane ke liye sabse powerful hai.
Editing sirf articles padhne se nahi, balki practically apne phone mein in apps ko open karke in techniques ko try karne se aati hai. Aaj hi inmein se apni pasandida app download karein, apna favourite aesthetic background lein, aur upar bataye gaye steps ko follow karke apni pehli masterpiece reel create karein. Apni creativity ko explore karte rahiye aur naye trends ke sath apne content ko grow karte rahiye. Keep practicing, keep editing, and keep shining
Preset 👉 DWONLOAD
Xml File 👉 DWONLOAD
Song 👉 DWONLOAD
Alight Motion 👉 DWONLOAD
Thank you