Hey guys! Main hoon MD Maqsood, ek professional video editor aur content strategist jisko editing industry mein 7+ years ka practical experience hai. YouTube par mera channel “m4editorofficial” (13.6K+ subscribers) aur Instagram page “m4_editor_official” (145K+ followers) hai, jahan main daily editing tutorials, reels hacks, aur trending effects share karta hoon. Is website par mera motive bilkul clear hai—aaj ke beginners ko bina kisi paid course ke, genuine aur industry-grade editing skills free mein sikhana. Jo bhi tricks aur workflows main yahan share karta hoon, wo meri saalon ki real-world editing practice par based hoti hain.
Auto Captions in VN: Complete Beginner to Pro Guide (2026) M4 110
Aaj ke digital era mein short-form content jaise Instagram Reels, YouTube Shorts, aur TikTok par capture and retain karna sabse bada task hai. Ek research ke mutabiq, lagbhag 80% se zyaada log videos mute karke dekhte hain. Aise mein agar aapki video par clear, trendy, aur attractive subtitles nahi hain, toh viewers seconds mein swiping karke aage nikal jayenge. Pehle manual subtitles add karna ek bohot hi tiring aur time-consuming process hota tha, lekin Auto Captions in VN Video Editor ne is pure workflow ko ekdam seamless aur automated bana diya hai.
VN Video Editor (jise hum VN Editor ke naam se bhi jaante hain) mobile editors aur desktop creators dono ke liye ek powerful free editing application hai. Is article mein hum A to Z cover karenge ki Auto Captions in VN feature ko kaise use karein, iski speech-to-text accuracy ko maximum kaise karein, aur kaise professional text presets use karke apni videos ko viral banayein.
Why Captions Are Essential for Viral Short-Form Videos
Subtitles ya captions ab sirf ek option nahi, balki har creator ke liye ek must-have strategy ban chuke hain. Jab aap apni reel ya video mein dynamic subtitles add karte hain, toh aapki video ki reach multiple times badh jaati hai.
Key Benefits of Adding Subtitles:
- Higher Watch Time: Jab viewers screen par text readout dekhte hain, toh unka retention rate aur engagement significantly increase hota hai.
- Accessibility: Jo log noisy environment mein hain ya jinhe listening issue hai, wo bhi aapka content bina kisi problem ke consume kar sakte hain.
- Global Reach: Agar aap multilingual captions or clear fonts use karte hain, toh different regional background ke log bhi aapke content se connect kar pate hain.
- SEO & Algorithm Push: Modern AI algorithms video ke audio aur text structure ko parse karke relevant audience tak push karte hain.
Step-by-Step Guide: How to Generate Auto Captions in VN
VN Editor mein auto caption generate karna bohot hi simple aur fast hai. Chahe aap Android use kar rahe ho, iOS ya Mac/Windows PC, process lagbhag same rehta hai. Is section mein hum bilkul basic step-by-step workflow dekhenge.
Step 1: Import Your Project
Sabse pehle VN Video Editor app open karein aur New Project par click karke apni high-quality recorded video import kar lein. Make sure ki aapke audio background mein bohot zyaada noise na ho.
Step 2: Locate the Text / Subtitle Tool
Timeline par video place karne ke baad, top layer par aapko Text / Subtitle button milega (T icon). Is par tap karein aur drop-down menu se Auto Captions ya Subtitles option select karein.
Step 3: Choose Audio Language
VN Editor multiple languages support karta hai (jaise English, Hindi, Spanish, French, etc.). Aap jis language mein video mein bol rahe hain, wahi source language drop-down list se select karein. Accurate text generation ke liye correct language select karna compulsory hai.
Step 4: Run AI Speech Recognition
Language select karne ke baad Generate ya Start button par click karein. VN ka internal AI speech-to-text engine aapki video ke audio track ko process karega aur seconds ke andar pure audio ko text timestamps mein convert kar dega.
Step 5: Review and Polish Text Timestamps
Auto generation ke baad timeline par alag-alag text clips ban jayenge. Video play karke check karein ki kya har word sahi jagah sync ho raha hai. Agar koi minor spelling error ya timing mismatch hai, toh use manual edit panel se turant fix kar lein.
Customising Your Captions for Maximum Viewer Engagement
Sirf basic white text Screen par dikhana boring lag sakta hai. Trending Instagram reels mein humesha bold typography, highlight colours, and text animations dekhne ko milte hain. VN Editor mein captions ko customise karna bohot easy hai.
Font Selection Matters
Captions ke liye humesha clean, bold, aur easily readable fonts choose karein. Standard fonts jaise Montserrat Bold, Anton, Bebas Neue, ya Futura mobile screens par sabse clear dikhte hain. Thin ya overly script fonts use karne se bachein kyunki wo fast scroll mein padhne mein mushkil hote hain.
High-Contrast Colours and Background Shadow
Text ko video background se separate karne ke liye high-contrast colours use karein.
- Bright yellow text with black stroke/outline.
- Clean white text with a subtle drop shadow or black background box.
- Green or neon highlights on key emphasis words.
Text Animations and Transition Effects
VN Editor mein aap text entrance aur exit animation add kar sakte hain. Subtitles ke liye Pop In, Fade In, ya Slide Up animations sabse natural lagte hain. Extreme 3D rotations se bachein kyunki wo reader ko distract kar sakte hain.
Pro Hacks to Improve Auto Captions Accuracy in VN
Kabhi-kabhi background music, fast talking, ya regional accents ki wajah se auto captions tool galat words recognise kar leta hai. Un problems ko bypass karne ke liye niche diye gaye expert editor hacks ko follow karein:
Hack 1: Separate Speech Audio Before Generating Captions
Video import karne ke baad pehle Extract Audio option ka use karke dialogue track ko alag kar lein. Agar aapki video mein background music pehle se added hai, toh AI system audio distinguish karne mein confuse ho sakta hai. Captions generate karne ke baad hi background music layer add karein.
Hack 2: Apply Noise Reduction
VN Video Editor mein built-in Noise Reduction feature hota hai. Auto-captions process chalane se pehle audio track par Noise Reduction apply kar dein. Isse background hiss aur fan noise remove ho jayegi aur speech-to-text accuracy almost 95%+ perfect milegi.
Hack 3: Split Long Sentences into One-Word or Two-Word Phrases
Modern audience ka attention span bohot kam hota hai. Timeline par Lambe-lambe 8-10 words ke paragraphs dikhane ke bajaye text blocks ko split karke 1 to 3 words per frame rakhein. Isse video mein ek energetic rhythm aur fast pacing feel hoti hai.
Best Settings for Instagram Reels and YouTube Shorts
Jab aap vertical videos (9:16 aspect ratio) ke liye Auto Captions in VN setup kar rahe hon, toh positioning aur safe zones ka dhyan rakhna sabse important hota hai.
Video Platform
Safe Zone Position
Instagram Reels
Center-Lower (Above Like/Comment icons)
YouTube Shorts
Middle-Center of Screen
TikTok
Upper-Middle Area
Tip: Subtitles ko bilkul bottom margin par mat rakhein, varna Instagram caption overlay aur action buttons text ko cover kar lenge.
Bonus Tip: Create Your Own Custom Caption Presets in VN
Take Screenshot 👇


Take Screenshot👇

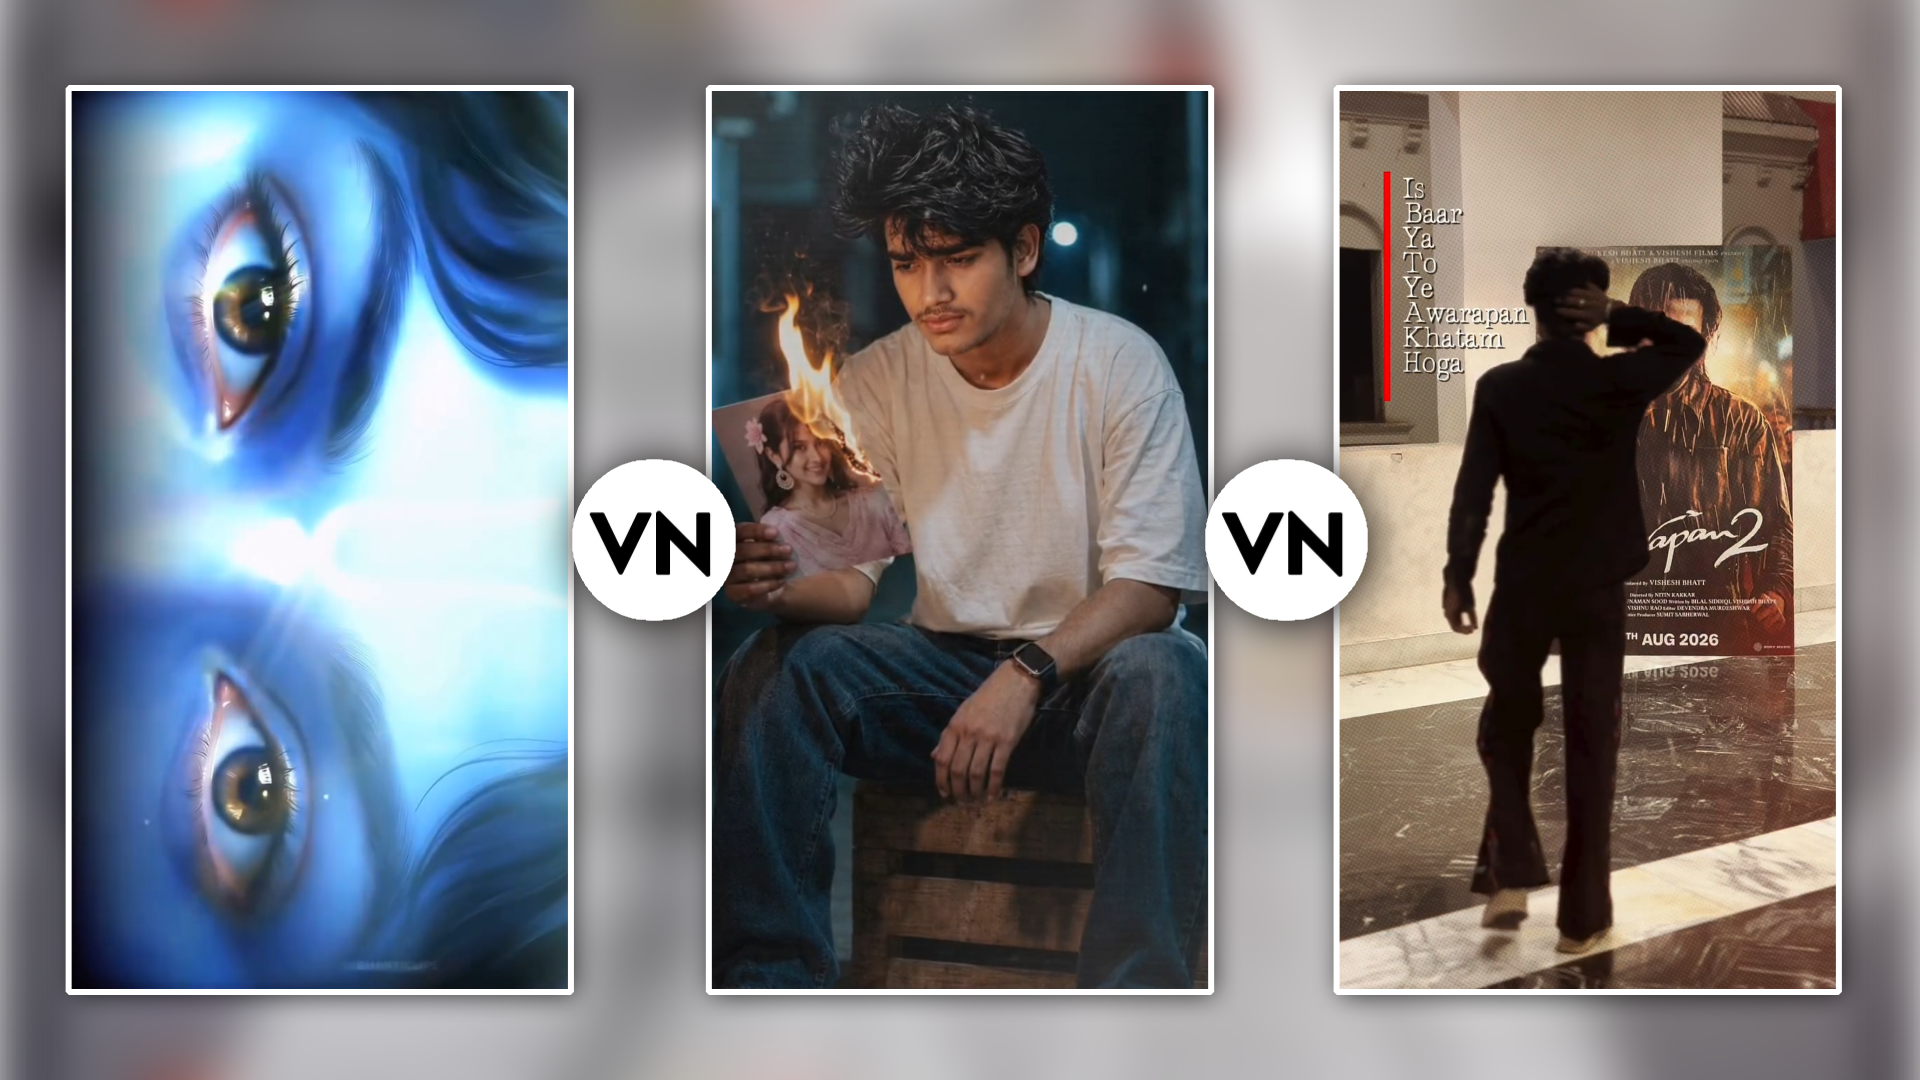
Insta Viral Eyes Transaction Video Vn Template

Take Screenshot 👇

Agar aap daily basis par content generate karte hain, toh har baar text styling karne mein bohot time waste hota hai. VN Video Editor aapko Text Style Presets save karne ki capability deta hai.
- Ek baar apne brand colours, favourite font, stroke thickness, aur drop shadow ko perfectly align kar lein.
- Text editing panel mein Save Style or Template Preset par tap karein.
- Future mein jab bhi aap auto captions generate karenge, bas single click mein apna saved preset apply kar sakte hain. Isse aapka weekly video editing workflow 3x faster ho jayega.
Advanced Text Styling & Keyword Highlighting Techniques
Sirf automated text screen par dikhana kaafi nahi hota. Agar aap Alex Hormozi style ya trending viral reels jaisa outcome chahte hain, toh aapko Keyword Highlighting technique seekhni hogi.
How to Highlight Keywords:
- Auto captions timeline par jab full sentence generate ho jaye, toh sabse crucial word (jaise Secret, Money, Mistake, Viral) ko select karein.
- Us specific word ka colour change karke Bright Yellow, Neon Green, ya Cyan kar dein.
- Is colour contrast se viewer ki aankhein seedha us word par focus karti hain, jisse cognitive engagement badhta hai.
Conclusion
Auto Captions in VN Video Editor ne short-form content creation ko bohot efficient aur beginner-friendly bana diya hai. Sahi audio cleaning, proper font selection, safe-zone positioning, aur custom presets ka combination use karke aap apne ordinary footage ko highly engaging, professional, aur viral-ready videos mein transform kar sakte hain. Consistency ke saath in techniques ko apni daily editing practice mein implement karein aur apni content quality ko next level par le jayein!