Hello everyone! Main m4editorofficial YouTube channel (13.6K+ subscribers) aur m4_editor_official Instagram page (145K+ followers) ka creator aur lead editor hoon. Video editing industry mein 7+ saalon ke practical experience ke saath maine thousands of viral reels, promos, aur cinematic shorts craft kiye hain. Iss blog space ke zariye mera purpose bilkul clear hai — beginner creators ko bina kisi complex tech jargon ke, pure genuine industry-level editing techniques, step-by-step guidance, aur problem-solving strategies sikhana taaki aap apne smartphone se hi studio-quality content edit kar sakein.
CapCut Se Trending Reel Editing kaise kare 2026: Complete Step-by-Step Guide M4 95
Aaj ke time mein Instagram Reels aur YouTube Shorts par viral hone ke liye sirf achha camera hona kaafi nahi hai. 2026 mein content creation landscape fast-paced dynamic editing par shift ho chuka hai. Agar aapka content pehle 3 seconds mein viewer ka attention hook nahi karta, toh algorithm aapki video ko aage push nahi karta.
Aapko professional viral video banane ke liye kisi expensive laptop ya complex software ki zaroorat nahi hai. CapCut application ke smart features ka sahi upayog karke aap apne smartphone se hi viral reels edit kar sakte hain. Iss guide mein hum seekhenge ki CapCut Se Trending Reel Editing kaise kare 2026 mein, taaki aapka video quality high-level dikhe aur engagement boost ho.
Perfect Audio Beat Syncing (Beat-Match Editing Technique)
2026 ke sabse popular Reels trends hamesha background music ki beat ke saath synchronised hote hain. Jab video cuts audio ke bass drop aur beats par accurate align hote hain, toh viewer ko ek satisfying visual experience milta hai.
Detailed Explanation
CapCut mein Auto Beat Detection aur Manual Beat Marking dono options milte hain. Jab aap kisi trending audio track ko add karte hain, toh AI algorithm us audio waveform mein beats ko analyse karta hai aur yellow markers create kar deta hai. AAPKO apni video clips ko unhi markers ke exact timestamp par split aur trim karna hota hai.
Beginner-Friendly Practical Tips
- Audio option par jaakar Beats icon par tap karein aur Auto Generate select karein.
- Timeline ko dono fingers se zoom-in karein taaki exact beat drop visualises ho sake.
- Har beat marker par clip change hone ke saath Flash Effect ya Zoom In Transition add karein taaki energy build-up ho.
Velocity Curve Editing (Dynamic Speed Ramping)
Smooth slow-motion aur sudden fast-forward speed ramping ko Velocity Edit kehte hain. Dancing, fitness, travel vlogs, aur fashion reels mein yeh style sabse zyada trend kar raha hai.
Detailed Explanation
Normal speed change karne ki bajaye Speed Curve tool aapko video ke alag-alag hisso ki speed custom adjust karne ka control deta hai. CapCut mein pre-made curve presets jaise Hero, Bullet, aur Montage milte hain, jinko aap manual keyframes se further fine-tune kar sakte hain.
Beginner-Friendly Practical Tips
- Clip ko select karke Speed > Curve > Custom option choose karein.
- Action moment se thik pehle speed ko 2.0x ya 3.0x (Fast) karein aur main action point par speed drop karke 0.2x (Ultra Slow) kar dein.
- Slow-motion ko smooth banane ke liye Make It Smoother option enable karke Optical Flow filter choose karein.
Auto Captions aur Dynamic Kinetic Typography
Aaj kal zyadatar users Instagram Reels ko mute volume par scroll karte hain. Isiliye screen par eye-catching, animated subtitles aur bold titles ka hona viral reach ke liye crucial hai.
Detailed Explanation
CapCut ka AI Auto Captions feature voiceover ya dialogue ko automatically detect karta hai aur stylish text overlay generate karta hai. Aap custom fonts, text glowing strokes, shadows, aur word-by-word animation effects apply kar sakte hain.
Beginner-Friendly Practical Tips
- Bottom bar se Text > Auto Captions select karein aur apni language choose karein.
- Generated captions ke kisi ek block ko select karke Style tab mein jaayein aur bold fonts choose karein.
- Animation section mein jaakar Caption animation choose karein taaki screen par single-word movement highlight ho.
Keyframe Animations for Smooth Camera Movement
Static footage aksar boring lagti hai. Keyframing ek aisi master technique hai jis se aap kisi bhi still photo ya flat video clip mein dynamic zoom, pan, aur rotation effect create kar sakte hain.
Detailed Explanation
Keyframe ka matlab hota hai timeline par do specific points set karna. Point A par video ki position normal rahegi aur Point B par video thodi zoomed-in ya rotated rahegi. CapCut automatically Point A se Point B ke beech ka motion smooth animate kar deta hai.
Beginner-Friendly Practical Tips
- Clip ke start mein diamond-shaped Keyframe Icon (+) par tap karein.
- Timeline ko 1-2 seconds aage shift karein aur second keyframe add karke screen par clip ko do finger se thoda zoom karein.
- Glow/Color transition ke saath keyframe zoom combination aapse video ko professional cinematic look deta hai.
Background Removal & Multi-Layer Overlay VFX
2026 ke trending reels mein subject ke peeche 3D text floating dikhna ya background replace karke creative VFX add karna bahut common hai.
Detailed Explanation
CapCut ka Cutout / Auto Background Removal AI engine bina green screen ke bhi foreground subject ko isolate kar leta hai. Iske baad aap Overlay feature ka use karke text, graphic layers, ya dynamic particle videos ko main subject ke back-side par position kar sakte hain.
Beginner-Friendly Practical Tips
- Main video timeline par rakhein aur Overlay se same video ko second layer par import karke exact align karein.
- Overlay wali video clip ko choose karke Cutout > Remove Background hit karein.
- Main video aur overlay video ke beech mein Text Layer add karein — isse text automatically person ke peeche chhip jayega, jo 3D depth illusion create karta hai.
Colour Grading & Cinematic Filter Stacking
Aapka camera kitna bhi basic ho, sahi colour combination aur lighting adjustments se aap raw footage ko high-level visual appeal mein convert kar sakte hain.
Detailed Explanation
Direct Filter lagane se video artificial lag sakti hai. Iske bajaye Adjust Tool ke through Exposure, Highlights, Contrast, Colour Temperature, aur HSL (Hue, Saturation, Luminance) settings ko manual tweak karna sabse best practice mana jata hai.
Beginner-Friendly Practical Tips
- Adjust tab mein jaakar Contrast (+10), Sharpen (+15), aur Shadows (-8) set karein.
- HSL tool mein jaakar Green colour ki Saturation kam karein aur Orange/Skin Tone ki Luminance thodi badhayein taaki face bright aur clean dikhe.
- Night clips ya dark cinematic look ke liye Teal and Orange tone adjustment mix apply karein.
Sound Effects (SFX) aur Audio Layering
Pro video editors mante hain ki 50% video appeal visual hoti hai aur remaining 50% audio design par depend karti hai. Trending reels mein cinematic sound effects video ko high energy banate hain.
Detailed Explanation
Jab bhi screen par koi transition, text pop-up, ya fast zoom hota hai, toh us moment par specific Audio SFX (jaise Whoosh, Swoosh, Camera Shutter, Deep Bass Drop, Mouse Click) match karna zaroori hai.
Beginner-Friendly Practical Tips
- CapCut ke Audio > Effects library mein search karein “Whoosh” ya “Pop”.
- Text appearance marker ke exact niche Pop SFX placement karein.
- Background Music ka volume 15% – 20% par rakhein aur Main Voiceover volume 100% – 120% par lock karein taaki voice clean sunayi de.
Trending CapCut Templates Integration
Agar aapke paas time kam hai aur aap urgent basis par trending reel publish karna chahte hain, toh template integration workflow sabse fastest tarika hai.
Detailed Explanation
CapCut official template library mein hajaron user-created viral templates daily update hote hain. In templates mein pre-configured transitions, beat timing, audio syncing, aur visual effects pehle se programmed rehte hain.
Beginner-Friendly Practical Tips
- CapCut App ke Templates tab mein jaakar search bar mein “Viral Reel 2026” ya “Beat Sync Trending” type karein.
- Aapko jo template pasand aaye, us par Use Template click karein.
- Apni gallery se required numbers of clips select karke Preview karein aur single click mein export karein.
Complete Step-by-Step Editing Guidance


Important
template work karega but Usse pehle VPN Connect kar Lena tabhi template work karega
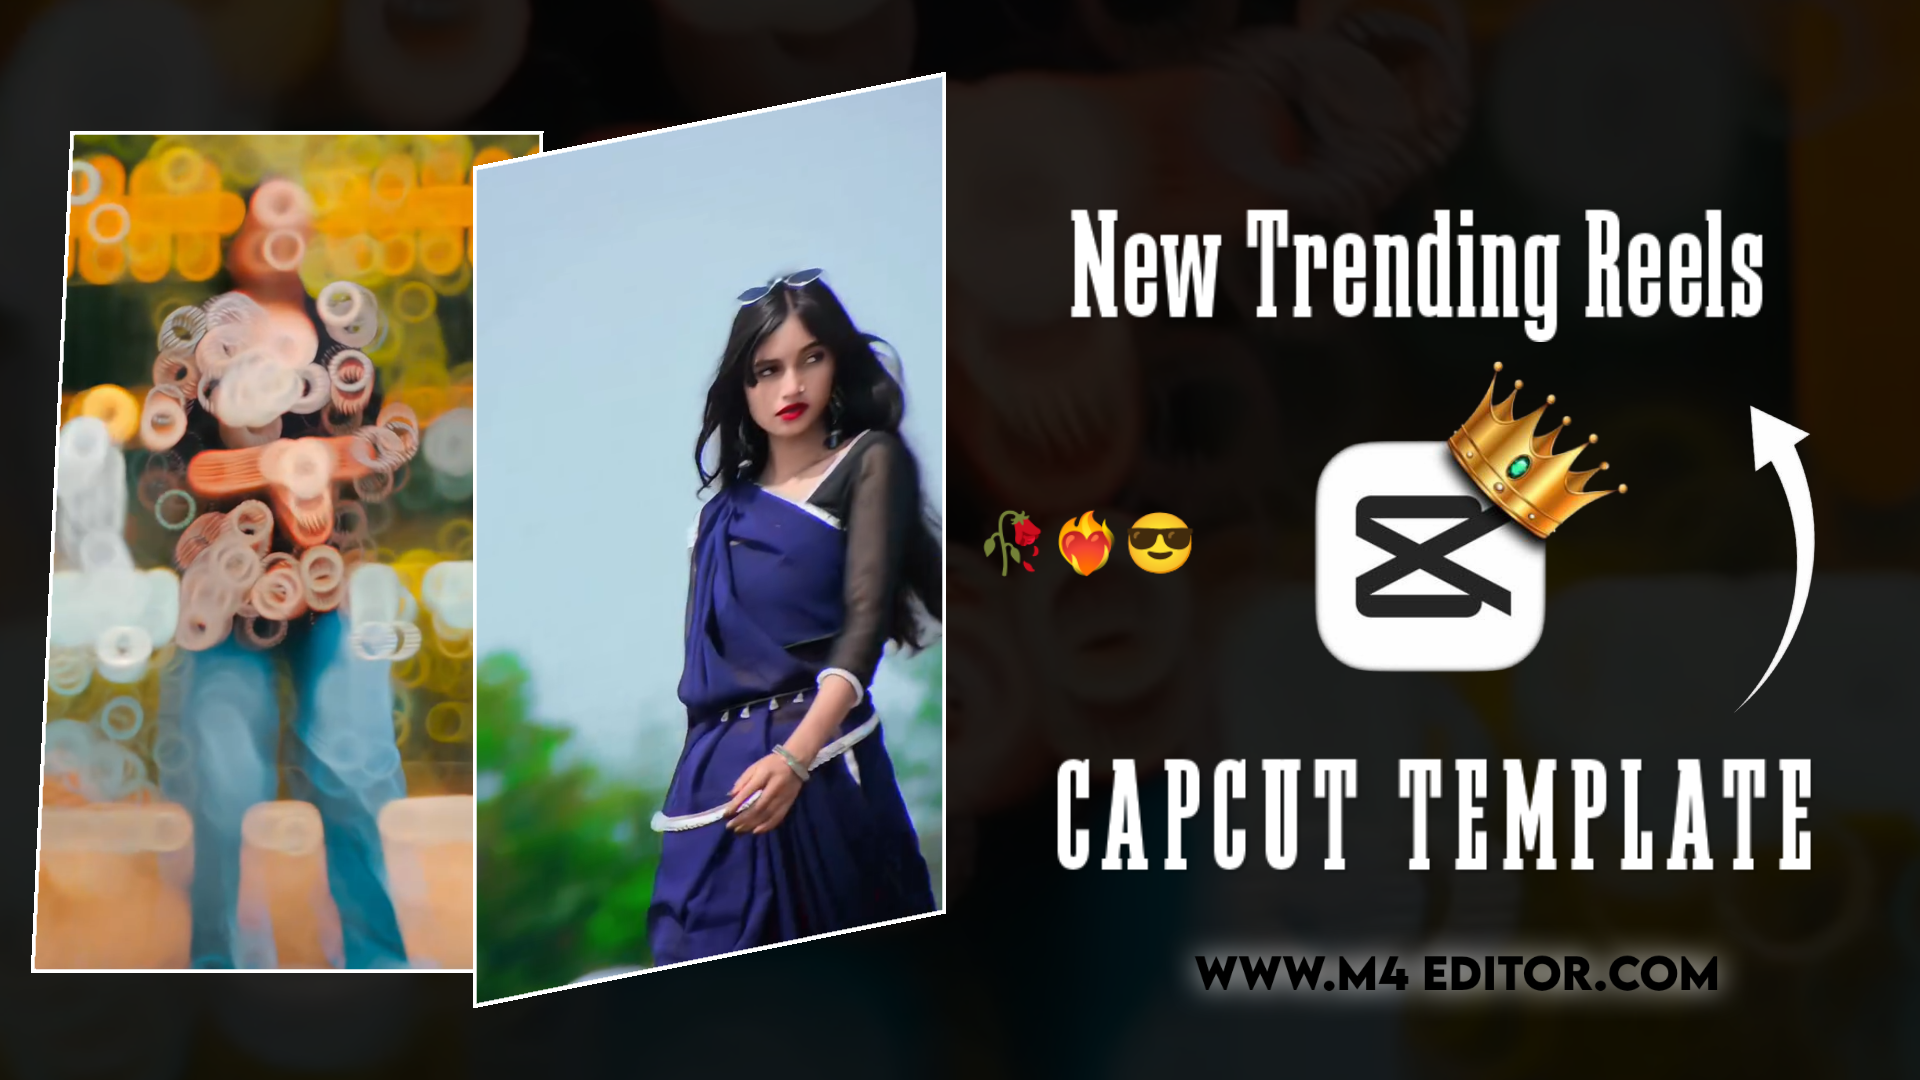
Instagaram Bhojpuri Trending Capcut Template 👇


Important
Template work karega but Usse pehle VPN Connect kar Lena tabhi template work karega
Niche diye gaye step-by-step workflow ko follow karke aap kisi bhi raw clip ko trending reel mein convert kar sakte hain:
- Step 1: Project Setup & Aspect Ratio Selection
- CapCut open karein, New Project par tap karein aur gallery se saari raw videos select karke import karein. Sub-menu se Ratio par jaakar 9:16 (TikTok/Reels Format) lock karein.
- Step 2: Rough Cut & Trimming
- Clips ke unnecessary parts, shaky footage, aur silent gaps ko split karke delete karein. Target timing 15 se 30 seconds ke beech rakhein.
- Step 3: Background Music & Beat Marking
- Trending audio add karein. Audio layer par tap karke Beats option se automatic beat markers apply karein aur clips ko beat points par align karein.
- Step 4: Transitions & Speed Ramping
- Clips ke jond par Transitions (jaise Camera Shake, Pull In, Blur) add karein. Specific movement moments par Speed Curve se slow-motion apply karein.
- Step 5: Visual Effects & Colour Adjustments
- Effects > Video Effects mein jaakar trending filters (Glow, Edge Flash, VCR Blur) apply karein. Adjust menu se colour exposure aur contrast set karein.
- Step 6: Text, Captions & SFX Layering
- Auto Captions generate karein, bold font aur animated pop-up apply karein. Transitions aur key text appearances par Whoosh aur Pop sound effects place karein.
- Step 7: Final Quality Check & Render
- Video ko play karke audio-video sync check karein. Top right corner se 1080p resolution select karke Export button hit karein.
Common Editing Issues aur unke Easy Solutions
Reel editing ke dauran beginners ko aksar kuch technical problems face karni padti hain. Inhe solve karne ke point-to-point tarike niche दिए गए hain:
- Issue 1: Video Export Hone Ke Baad Blur Ya Low Quality Ho Jana
- Solution: Export screen par hamesha 1080p resolution aur 30 FPS / 60 FPS select karein. 4K export na karein kyunki Instagram compression usse blur kar deta hai. Sath hi Instagram App ki settings mein Media Quality > Upload at Highest Quality toggle ko ON rakhein.
- Issue 2: Audio Aur Video Out-Of-Sync (Timing Aage-Piche) Ho Jana
- Solution: Processing delay ki wajah se aisa hota hai. Isse thik karne ke liye editing start karne se pehle app settings mein Cache Clear karein aur Bluetooth earphones ki bajaye wired earphones ya phone speaker use karein taaki latency issue na aaye.
- Issue 3: CapCut App Mein Effects / Network Error Show Hona
- Solution: Agar Internet connection ki wajah se templates ya effects load nahi ho rahe hain, toh phone mein background applications close karein, stable Wi-Fi/Data connect karein, aur app ko force restart karein.
- Issue 4: Slow-Motion Laggy Ya Frame Drop (Atak-Atak Kar Chalna)
- Solution: Normal speed drop karne par video lag karti hai. Fast, smooth slow-mo ke liye speed drop karte waqt hamesha Make It Smoother option choose karke Optical Flow process apply hone ka wait karein.
- Issue 5: Auto Captions Mein Galat Words (Spelling Errors) Aana
- Solution: AI voiceover accent ki wajah se kuch words galat pick kar leta hai. Captions generate hone ke baad Batch Edit option par jaakar manually spelling mistakes ko rectify karein aur key text ko bold highlight karein.
Bonus Tip – The 3-Second Hook Secret & Best Export Settings
Instagram aur baki short-form video platforms par viral reels ka sabse bada secret Audience Retention hota hai.
Professional Workflow Hack: Video ke starting 3 seconds mein ek Glow Blur Effect + Fast Whoosh Sound + Bold Hook Text (jaise “Stop Scrolling!” ya “This Changed Everything!”) zaroor add karein. Yeh visual pattern interrupts viewer ko scroll arrest karne par majboor kar deta hai!
Conclusion
CapCut Se Trending Reel Editing karna simple aur efficient hai, bas aapko sahi workflow aur troubleshooting steps ki clarity honi chahiye. AI tools aapka kaam fast kar sakte hain, lekin aapki creativity aur daily practice hi aapke content ko viral banayegi. Toh aaj hi CapCut open karein, in steps ko follow karein aur apni next trending reel generate karein!