Main MD Maqsood, ek professional video editor aur content creator hoon jise digital video editing industry mein 7+ years ka practical experience hai. Main apne YouTube channel m4editorofficial (13.6K+ subscribers) aur Instagram community m4_editor_official (145K+ family) ke through daily trending edits aur technical breakdowns share karta hoon. Is platform ke zariye mera purpose bilkul clear hai: beginners aur aspiring creators ko direct, authentic aur advanced mobile editing techniques free mein sikhana taaki aap bina costly software ke cinematic videos bana sakein.
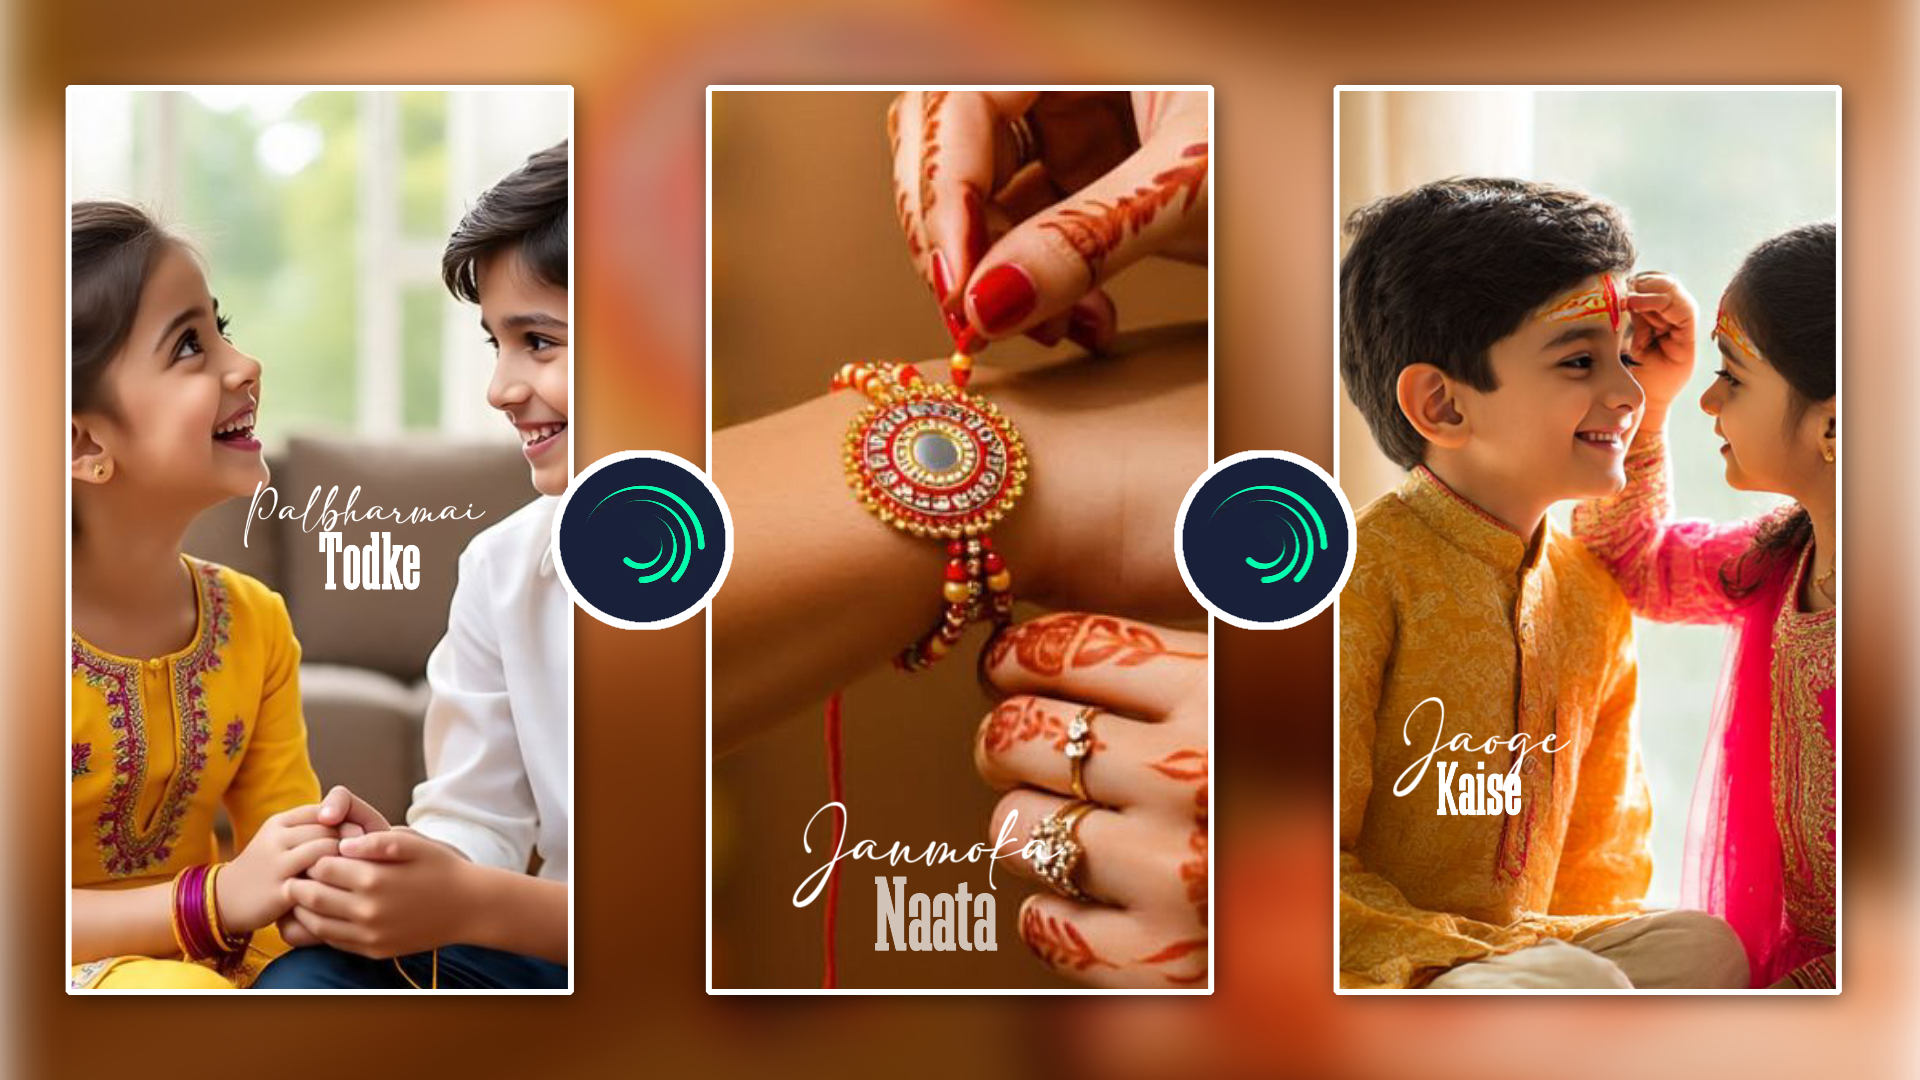
Happy Raksha Bandhan | Brother Sister Video Editing Alight Motion Tutorial | Trending Edit 2026 M4 16
Raksha Bandhan har saal bhai-behan ke unconditional love aur protective bond ko celebrate karne ka sabse special festival hota hai. Aaj ke digital era mein sirf photos post karna purana style ban chuka hai; har koi chahta hai ki unka status, Instagram Reel, ya YouTube Short sabse unique, emotional aur trending look de. Jab aap apne childhood memories aur candid moments ko cinematic video edit mein convert karte hain, toh wo sirf ek video nahi balke ek lifetime memory ban jaati hai.
Agar aap apne phone par professional level editing karna chahte hain, toh Alight Motion sabse powerful tool hai. Is detailed guide mein main aapko step-by-step sikhane wala hoon ki kaise aap Happy Raksha Bandhan Brother Sister video editing in Alight Motion create kar sakte hain jo 2026 mein seamlessly trend kare.
1. Project Setup Aur High-Resolution Canvas Configuration
Video editing ka sabse pehla golden rule hota hai right aspect ratio aur resolution set karna. Agar aapka canvas starting mein hi galat hoga, toh kitne bhi cinematic effects daal lein, final output blurry ya stretched dikhega.
- Open Alight Motion aur bottom centre ke + icon par click karein.
- Instagram Reels aur YouTube Shorts ke liye 9:16 Aspect Ratio choose karein. Agar aap full-screen horizontal status chahte hain, toh 16:9 select karein.
- Resolution ko 1080p Full HD ya 1440p (2K) par set karein.
- Frame Rate hamesha 60 FPS rakhein taaki slow-motion aur camera shakes super smooth render hon.
- Background color ko Black select karke Create Project par tap karein.
2. Emotional Media Sequencing Aur Timeline Layering
Ek touchy Raksha Bandhan reel banane ke liye clips ka arrangement sabse zyada matter karta hai. Storytelling formula follow karne se video direct heart ko touch karti hai.
Perfect Storytelling Structure
- Opening Hook (0 to 3 Seconds): Bachpan ki old black & white ya vintage photo/video clip.
- Transition Point (3 to 6 Seconds): Rakhi bandhne ka recent aesthetic visual.
- Core Montage (6 to 15 Seconds): Funny candid clips, laughter, aur sweet brother-sister fight moments.
- Emotional Outro (Last 3 Seconds): Raksha Bandhan quote ya personalised typography ke sath glowing ending.
Timeline par sabhi media files ko add karte waqt har photo ko Fill Composition Area option use karke screen fit karein taaki black bars na dikhein.
3. Beat-Sync Marker Setup Aur Precision Trimming
Kinetic video editing ka soul hota hai Music & Beat Syncing. Video tabhi viral banti hai jab har beat drop par visual change ho ya effect trigger ho.
- Timeline mein emotional trending background track add karein.
- Track ko play karke suniye aur jahan-jahan heavy drum beats ya bass drop ho, wahan timeline scrubber ke paas Bookmark Icon (Pin) par tap karke red beat markers set karein.
- Har photo ya video clip ke transition point ko in red markers par align karein.
- Scrubber ko marker par le jakar clip select karein aur Split / Trim right feature use karke perfect length lock karein.
4. Advanced Keyframe Motion Aur Smooth 3D Shake Effects
Static photos ko dynamic look dene ke liye hum Alight Motion ke Keyframing engine aur shake presets ka manual use karenge.
Step-by-Step Smooth Zoom & Pan Setup
- Clip select karein aur Move & Transform menu mein jayein.
- Scale Option (Third icon) select karein aur clip ke start mein ek keyframe add karein.
- Timeline par 1 second aage badhein aur scale value ko 120% to 130% tak zoom karke dusra keyframe add karein.
- Dono keyframes ke beech mein Custom Graph (Easing Curve) open karein aur smooth Ease-Out curve draw karein taaki zoom cinematic lage, jerky nahi.
3D Oscillate & Tiles Setup
- Effects > Add Effect > Distortion/Warp > Tiles (Tile Offset) add karein aur Mirror mode ON karein. Isse edges par empty space nahi aayegi.
- Next, Effects > Add Effect > Move/Transform > Oscillate apply karein.
- Angle ko 45.0°, Frequency ko 1.20 Hz, aur Magnitude ko 25 par set karein. Isse video mein natural handheld organic movement create hoti hai jo professional cameras jaisa feel deti hai.
5. HDR CC, Cinematic Colour Grading Aur Glow Ambience
Festive content ke liye visuals ka vibrant, warm aur rich hona zaroori hai. Flat mobile photos ko standard grading se studio look diya ja sakta hai.
- Top layer par + Shape > Rectangle add karein aur use Stretch to Composition Area karein.
- Effects > Add Effect > Other > Copy Background apply karein.
- Next, Effects > Add Effect > Color & Light > Exposure/Gamma add karein:
- Exposure: -0.20
- Gamma: 0.950
- Offset: -0.02
- Add Colour & Light > Vibrance aur ise +1.15 tak boost karein taaki festive dress colours pop-up karein.
- Add Effects > Blur > Directional Blur (Strength: 0.05) aur is shape layer ka blending mode Screen ya Overlay par set karke opacity ko 65% par lock karein.
6. Festival Typography, Calligraphy & Kinetic Glow Lyrics
Text aur captions emotional connection ko double kar dete hain. Clean Hindi Calligraphy ya Modern English Typography video ko high-value premium standard deti hai.
- Text Tool select karein aur apna emotional slogan type karein (Jaise: “Happy Raksha Bandhan | Meri Pyaari Behna”).
- Font style mein bold festive fonts ya script fonts select karein.
- Text Animation Effect: Effects > Text > Text Spacing and Text Transform apply karein.
- Keyframe lagakar text ko Alpha Fade-in (0% to 100%) aur scale animation dein.
- Effects > Drawing & Edge > Glow apply karein. Glow colour ko Soft Golden Yellow ya Warm White select karein, Radius 45.0, aur Alpha 70% set karein festive aesthetic ke liye.
7. Cinematic Light Leaks Aur Particle Overlay Integration
Professional editors raw cuts ko blend karne ke liye optical overlays ka smart use karte hain.
- Media > Add Video Overlay (Warm bokeh lights, gold sparkle dust, ya lens leak overlay download karke add karein).
- Overlay layer select karein aur Blending & Opacity > Lighten > Screen choose karein. Isse black background automatically disappear ho jayega aur sirf floating golden particles bachenge.
- Agar overlay bahut bright lage, toh Opacity slider ko 70% – 80% ke beech adjust karein.
Smart Workflow Optimisation: XML Presets Aur Custom Project Reusability
Editing mein time aur effort save karne ka sabse smart method hai Pre-built Templates aur XML presets ka efficient system banana.
- Jab aap ek perfect shake effect, colour grade, ya text glow design kar lein, toh us layer ke 3 dots par click karke Copy Effects karein.
- Dusri clips par direct Paste Effects karke aap pura visual sync sirf seconds mein complete kar sakte hain.
- Pure complex project ko XML / Project Package format mein export karke Google Drive ya local storage mein save karein. Isse future projects ke liye aapka master template ready rehta hai jisme sirf media replace karke new edits churn out kiye ja sakte hain.
Optimal Export Settings For Lossless Social Media Uploads
Aksar creators complain karte hain ki Alight Motion mein video crisp dikhti hai par Instagram ya WhatsApp par upload hote hi quality compress ho jaati hai. Is issue ko resolve karne ke liye exact export pipeline follow karein:
- Top right corner ke Export (Share) icon par click karein.
- Format: Video (MP4)
- Resolution: 1080p FHD (Reels upload algorithm ke liye 1080p best supported standard hai).
- Frame Rate: Full (60 FPS)
- Quality Slider / Bitrate: Ise High (Around 12 Mbps to 16 Mbps) par lock karein. Extremely high bitrate (30+ Mbps) kabhi na rakhein kyunki social media algorithms over-sized files ko internally re-encode karke degrade kar dete hain.
- Export button press karein aur render complete hone par Save to Gallery zaroor click karein.
Conclusion
Professional video editing kisi expensive PC ya complex tool ki mohtaaj nahi hai. Mobile par Alight Motion ke keyframing, beat-matching aur colour grading tools ka sahi balance seekhkar aap trending aur emotionally engaging content easily create kar sakte hain. Is festive season mein steps ko practice karein, alag-alag graphs aur transitions ke sath experiment karein, aur apne creative brother-sister videos ke sath internet par stand out karein. Happy Editing!
Full Project 👇
Xml File 👇
Song 👇