Main hoon MD Maqsood, ek professional video editor jise motion graphics aur mobile video editing space mein 7+ years ka solid industry experience hai. Social media par main m4editorofficial YouTube channel (13.6K+ subscribers) aur m4_editor_official Instagram page (145K+ family) ke through advanced editing styles aur practical techniques break down karta hoon. Mera vision is web portal ke zariye har beginner aur passionate creator tak authentic, practical aur production-level editing concepts bilkul free deliver karna hai taaki aap visual storytelling mein master ban sakein.
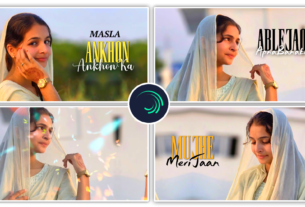
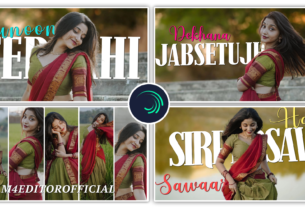
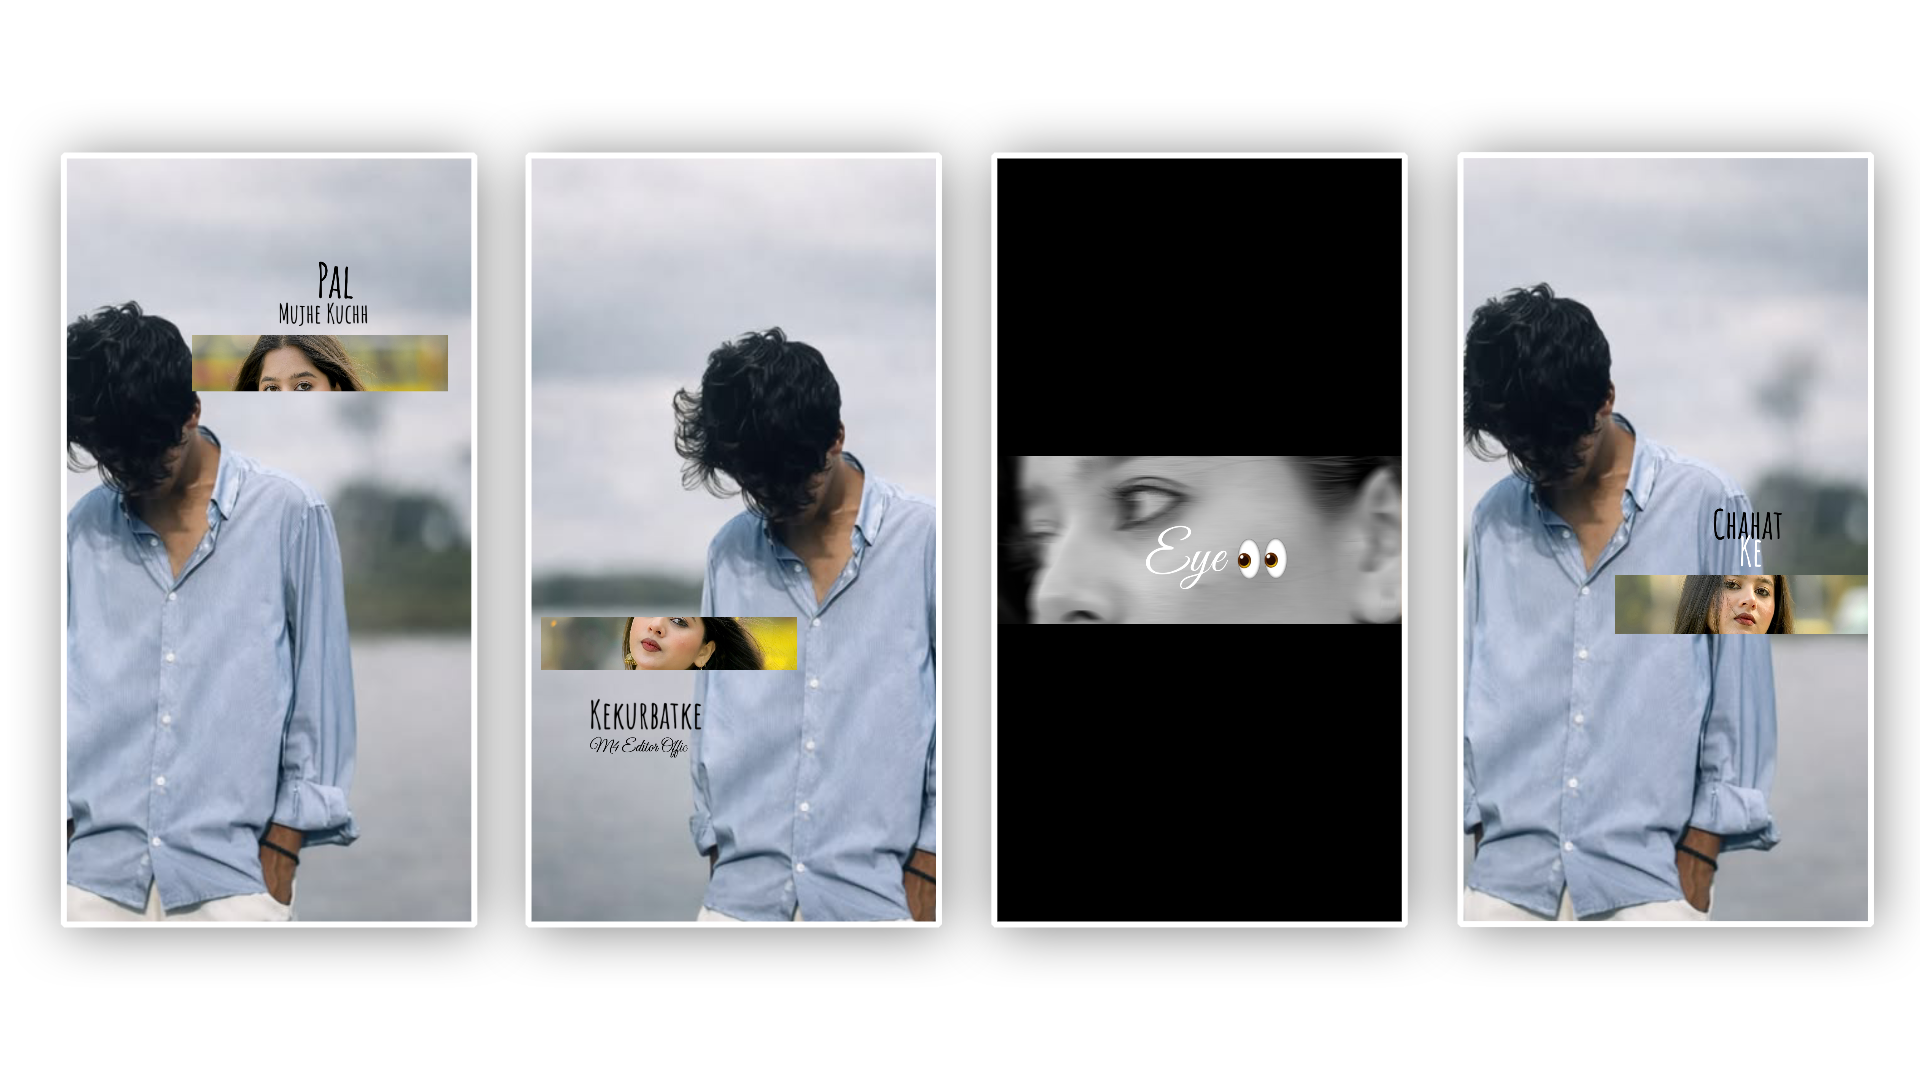
New Trending 1pic Girls Sad Video Editing Alight Motion 2026 M4 113
Short-form video platforms jaise Instagram Reels aur YouTube Shorts par emotional aur aesthetic storytelling ka trend continuously expand ho raha hai. Single image se immersive visual story create karna video editing ka ek high-engagement art ban chuka hai. Agar aap social media par high-retention content create karna chahte hain, toh new trending 1pic girls sad video editing Alight Motion 2026 ka concept sikhna aapke channel growth ke liye ek game-changer साबित ho sakta hai.
Alight Motion mobile motion design industry ka sabse versatile tool mana jata hai kyunki ye layer-based vector editing, dynamic camera rigging, precise graph interpolations aur custom XML presets support karta hai. Is complete, beginner-focused practical guide mein hum samjhenge ki kaise aap ek single portrait photo ko cinematic motion art, deep ambient mood aur emotional aesthetic vibe mein transform kar sakte hain.
The Core Concept: Single Picture Emotional Storytelling
Ek single static photo se cinematic sad video banane ke piche primary psychology emotional immersion aur smooth visual pacing par depend karti hai. Flat image audience ko hook nahi karti, lekin jab aap usme multi-plane depth, soft parallax motion aur realistic particle overlays add karte hain, toh image alive feel hone lagti hai.
- Layered Visual Depth: Foreground, subject aur background ko separate layers mein break karna.
- Subtle Camera Breathing: Slow zoom aur directional pan audience ka focus subject ki emotional expression par lock rakhta hai.
- Cinematic Audio Synchronization: Sad acoustic beats, reverb-heavy piano drops aur subtle rain sound effects ke waveform par keyframes sync karna.
. High-Resolution Subject Cutout & Multi-Layer Setup
Ek dynamic 1-pic project setup karne ka foundation transparent layer preparation se start hota hai:
- Subject Extraction: Apni high-definition girls portrait image ko Alight Motion mein import karne se pehle subject ko background se cleanly isolate karein. Iske liye high-accuracy cutout tools ya manual masking use karein.
- Canvas Configuration: Alight Motion open karke naya project create karein:
- Aspect Ratio: 9:16 (Vertical Full Screen)
- Resolution: 1080p Full HD
- Frame Rate: 60 FPS (Smooth keyframe motion ke liye zaroori hai)
- Dual Layer Import: Background image ko sabse bottom layer par rakhein aur extracted transparent subject PNG ko uske top layer par align karein.
2. Dynamic 3D Camera Rigging & Parallax Motion
Static feel ko complete remove karne ke liye Alight Motion ke built-in 3D Layer switch aur Camera tool ka use karein:
- Enable 3D Switch: Background layer aur Subject layer dono ke layer properties mein jaakar 3D toggle ko enable karein.
- Z-Distance Offset: Background layer ka Z-axis distance piche push karein (-200 to -400px) aur Subject layer ko camera ke near layein.
- Add Camera Layer: Top par ek dedicated Camera add karein.
- Keyframe Movement: Camera ke Position property par 0 second par ek keyframe lagayein aur video ke end (jaise 8-10 seconds) par ek smooth slow forward push-in keyframe lagayein.
- Bending Interpolation Curve: Keyframes ke beech easing curve ko standard linear rakhne ke bajaye Ease-in Ease-out curve par shape karein taaki camera start aur end bilkul organic lage.
3. Advanced Oscillate, Wave Warp & Natural Breathing FX
Realism add karne ke liye static subject layer par micro-movements apply karna critical hota hai:
- Oscillate Effect: Subject layer select karke Effects > Add Effect > Move & Transform > Oscillate apply karein.
- Angle: 90° (Vertical float)
- Frequency: 0.25 Hz to 0.40 Hz (Extreme low frequency smooth gentle sway deti hai)
- Magnitude: 4 to 8 px (Zyada magnitude shake create karega, isliye minimal rakhein)
- Wave Warp for Hair/Cloth Motion: Distortion & Warp > Wave Warp add karein. Iska direction horizontal set karke frequency 0.5 rakhein taaki natural wind blowing look create ho sake.
4. Emotional Color Grading & Desaturation Profiles
Sad aesthetic video ki soul uski color grading aur lighting balance mein hoti hai. Warm aur vibrant tones ki jagah cool, moody aur desaturated tones apply karein:
- Color & Light Layer: Top par ek blank rectangle shape draw karein aur use Stretch to Composition Area kar dein.
- Saturation / Vibrance Effect: Saturation ko -20% se -35% tak drop karein taaki cinematic vintage feel aaye.
- Gradient Overlay & Vignette: Dark blue, slate grey aur deep black gradient map apply karke edges ko darken karein taaki attention subject par centered rahe.
- RGB Split (Chromatic Aberration): Slight emotional distress vibe ke liye 0.002 strength par subtle RGB offset layer add karein.
5. Overlaying Visual Assets: Rain, Dust & Light Leaks
Visual atmosphere build karne ke liye particle overlays aur screen blending ka smart use karein:
- Cinematic Dust Particles: Black background dust overlay video import karein aur blending mode ko Screen ya Linear Dodge par set karein.
- Glass Raindrop Effect: Foreground layer par soft raindrop refraction overlay place karein.
- Gaussian Blur on Background: Background layer par Blur > Gaussian Blur apply karke intensity 0.150 rakhein taaki subject crisp focus mein rahe aur visual depth realistic DSLR lens jaisi lage.
6. Kinetic Sad Lyric Typography & Dynamic Glow
Emotional videos lyrics aur text synchronization ke bina incomplete hoti hain:
- Font Selection: Clean minimalist typography jaise Cinzel, Italianno, ya Montserrat Thin use karein.
- Text Animator: Text layer par Text > Text Transform effect apply karein. Letter-by-letter reveal animation aur slight fade-in transparency keyframe karein.
- Drop Shadow & Soft Glow: Text ke piche subtle black shadow aur 0.05 strength par white glow add karein taaki busy backgrounds par bhi text readability 100% crystal clear rahe.
Project Settings & Best Composition Framework
Parameter
Recommended Configuration
Canvas Dimensions
1080 x 1920 (9:16 Portrait)
Framerate Setting
60 FPS
Color Depth / Profile
Standard sRGB (Linear Grading)
Export Codec
H.264 / AVC (High Profile)
Target Bitrate
18 Mbps – 24 Mbps
7. XML Presets Import & Reusable Template Creation
Alight Motion ka sabse powerful feature uska XML sharing ecosystem hai. Agar aap daily content create karte hain, toh bar-bar scratch se edit karne ki zarurat nahi hai:
- Exporting Project as XML: Jab aapka complex camera setup aur particle layering finalize ho jaye, toh share icon par click karke XML Project format choose karein aur safe cloud storage mein backup karein.
- One-Click Picture Replacement: Next time naye visual edit ke liye simply XML file ko Alight Motion mein import karein, aur existing subject aur background image layers ko nayi photo se Replace Media feature ke zariye swap kar dein. Saare keyframes, 3D camera settings aur visual FX automatic apply ho jayenge.
Bonus Tip: Master Smooth Motion with Velocity Curve Graph
90% beginner editors ka motion artificial isliye lagta hai kyunki wo Alight Motion ke default linear keyframes use karte hain.
Jab bhi aap kisi property (jaise Position, Scale, ya Opacity) par do keyframes add karein, toh hamesha unke beech Graph Editor Icon par click karein. Curve ke start point ko bottom se smoothly curve up karein aur end point ko horizontal plateau par terminate karein. Is specific S-Curve velocity profile se motion mechanical lagne ke bajaye organic aur physics-accurate feel hota hai.
Conclusion
Mobile video editing mein mastery continuous experimentation aur visual observation se aati hai. New trending 1pic girls sad video editing Alight Motion 2026 sirf ek preset apply karne ka process nahi hai, balki multi-layer depth, precise camera timing aur balanced sound design ka ek artistic combination hai. In systematic steps ko regular practice karein, different easing curves test karein aur apni unique visual signature style develop karein.
Full Project
Xml File
Song