Complete VN Video Editor Course: Master Mobile Video Editing Step-By-Step M4 104
About the Author
Main pichhle 7+ saalon se professional video editing aur digital content creation industry mein active hoon. Video editing field mein lambe samay tak kaam karne ke baad maine social media par apni authority build ki—aaj hamare YouTube channel “m4editorofficial” par 13.6K+ subscribers hain aur Instagram page “m4_editor_official” par 145K+ followers ka parivar hamare sath juda hua hai. Iss website ko start karne ka mera main motive yahi hai ki main har upcoming editor ko trending techniques, practical guidance, aur 100% genuine video editing skills bina kisi cost ke sikha sakoon, taaki beginners se lekar advance creators tak sabhi mobile editing mein mastery hasil kar sakein.
Introduction: Mobile Video Editing Ka Sabse Powerful Tool
Aaj ke digital era mein high-quality video content creator economy ka sabse main pillar ban chuka hai. Chahe aap Instagram Reels banate hon, YouTube Shorts upload karte hon, ya phir cinematic vlogs aur corporate promotional videos edit karte hon, video ki visual presentation, pacing, aur audio clarity hi audience ka attention hold kar sakti hai. Pehle jahan professional editing ke liye heavy desktop setups aur expensive software ki zaroorat hoti thi, wahein aaj mobile video editing applications ne poori creator industry ko redefine kar diya hai.
Mobile video editing apps ki duniya mein VN Video Editor (VlogNow) ek aisa tool hai jo beginners se lekar industry-level editors tak sabhi ki pehli pasand ban chuka hai. Iska sabse bada reason yeh hai ki yeh app watermark-free output offer karta hai aur iska interface bilkul desktop software (jaise Premiere Pro ya DaVinci Resolve) ki tarah non-linear multi-track timeline par kaam karta hai.
Agar aap zero level se start karke ek professional mobile editor banna chahte hain, toh yeh Complete VN Video Editor Course aapke liye ek exhaustive roadmap hai. Iss comprehensive guide mein hum VN App ke basic interface se lekar advanced keyframing, speed curves, AI Cutout, Smart Auto-Captions, sound design, aur professional render settings ko deeply samjhenge.
VN Video Editor Kya Hai Aur Yeh Dusre Apps Se Alag Kyun Hai?
VN Video Editor ek aisa multi-track non-linear editing (NLE) software hai jo Android, iOS, iPadOS, macOS, aur Windows sabhi platforms par smooth performance deta hai. Iska lightweight architecture aur clean user interface beginners ke liye friendly hai, jabki iske timeline controls advanced editors ki zaroorat ko poora karte hain.
VN App Ki Key Capabilities:
- Zero Watermark Policy: Free version mein bhi bina kisi forced watermark ke clean videos export ki ja sakti hain.
- Multi-Track Editing Support: Dedicated video, audio, text, aur PIP (Picture-in-Picture) layers.
- Precision Speed Ramping: Customizable curve dots ke sath flexible speed control.
- Custom LUT Integration: Professional .cube format Look-Up Tables import karne ka option.
- Keyframe Motion Engine: Complex animations, zoom-ins, aur panning effects create karne ke liye.
- AI-Powered Upgrades: AI Smart Cutout, Auto Captions, Voice Isolation, aur Freeze Frame tools.
Module 1: Interface Mastery Aur Multi-Track Timeline Overview
VN App open karne par aapko ek clean project management screen dikhti hai. Top section mein aapko project settings, templates, aur tutorials milte hain, jabki bottom centre mein diya gaya Plus (+) Icon naya project start karne ke liye hota hai.
Multi-Track Timeline Architecture:
- Layer 4 (Text / Subtitle Track): Titles, lower thirds, automated captions, aur dynamic motion typography ke liye.
- Layer 3 (PIP / Overlay Track): B-roll videos, logos, stickers, green screen clips, aur image overlays ke liye.
- Layer 2 (Main Video Track): Primary A-roll video clips, main A-cut interviews, aur foundational footage ke liye.
- Layer 1 (Audio Track): Background music score, voiceover tracks, aur sound effects (SFX) layering ke liye.
Module 2: Basic Editing – Precision Cuts, Trimming, Aur Rough Assembly
Editing ka pehla stage Rough Assembly keh lata hai. Isme aap raw footage se unwanted dead air, filler words, aur mistakes ko cut karke clean storyline build karte hain.
Timeline Editing Tools:
- Split Tool (Scissors): Playhead ko target frame par laakar Split button dabane se clip do alag-alag parts mein divide ho jati hai.
- Trim Handles: Clip ke starting ya ending edge ko drag karke duration ko lengthen ya shorten kiya ja sakta hai.
- Delete & Reorder: Unwanted clips ko tap karke remove karein ya long-press karke timeline par unki position swap karein.
Beginner Practical Tips:
- Timeline Zooming: Frame-level accuracy ke liye timeline par two-finger pinch-out gesture use karein.
- Remove Default Ending Tile: VN App har project ke end mein ek black “Input Title” clip add karta hai. Export karne se pehle uss clip ko select karke delete zaroor karein.
Module 3: Speed Ramping & Smooth Slow-Motion Mastery
Speed Ramping video editing ki ek aisi technique hai jo motion mein drama aur rhythm add karti hai. Iska use action sports, car edits, dance clips, aur travel vlogs mein sabse zayada hota hai.
Speed Control Modes:
- Regular Mode: Poori clip ki speed ko static value par increase (e.g., 2x, 4x) ya decrease (e.g., 0.5x, 0.2x) karta hai.
- Curve Mode: Multi-point graph handle deta hai jahan aap frame-by-frame speed manipulate kar sakte hain.
Dynamic Speed Curve Setup:
- Clip select karke Speed tool open karein aur Curve option par switch karein.
- Graph par dot ko Upar ki taraf drag karne se speed fast hoti hai (Ramp Up).
- Dot ko Neeche drag karne se slow-motion effect banta hai (Ramp Down).
- Smooth flow ke liye abrupt spikes se bachen; curve ko S-shape ya gentle wave format mein maintain karein.
Module 4: Advanced AI Features & Upgraded Functions
VN Video Editor ke latest versions mein official updates ke zariye smart AI features integrate kiye gaye hain jo pehle sirf desktop software mein milte the.
1. AI Cutout (Automatic Background Removal)
Ab bina kisi Green Screen (Chroma Key) ke aap kisi bhi video clip se insaan ya main subject ka background isolate kar sakte hain.
- Process: PIP layer par clip add karein, toolbar se Cutout select karein, aur AI automatically subject ko detect karke background erase kar dega. Iska use subject ke pichhe large text likhne (Text Behind Subject Effect) mein hota hai.
2. Auto Captions & Speech-to-Text
Subtitle likhne ka ghanton ka kaam ab seconds mein ho jata hai.
- Process: Text section mein ja kar Auto Captions par tap karein. App aapke audio ko analyse karke accurate subtitles screen par generate kar dega, jise aap animated fonts aur highlights se style kar sakte hain.
3. Smart Freeze Frame & Velocity Sync
Moving subject ko kisi specific moment par freeze karke cinematic portrait ya text reveal effect dene ke liye Freeze Frame feature diya gaya hai.
Module 5: Advanced Keyframe Animation & Motion Graphics
Keyframing ek aisa feature hai jo kisi bhi static element (Text, Image, Video Clip) ko mathematical motion points deta hai. Isse aap custom transitions, camera zooms, aur sliding graphics ready kar sakte hain.
Keyframe Editing Workflow:
- Step 1: Target clip ya PIP layer ko select karein aur playback head ko start point par layein.
- Step 2: Toolbar par Keyframe (Diamond Icon) par tap karein. Isse Pehla Anchor Point Set ho jayega.
- Step 3: Frame par object ki position, scale, ya rotation adjust karein (e.g., Screen ke bahar rakhein).
- Step 4: Playhead ko timeline par aage le jayein aur object ko uske final position par drag karein. VN automatically Doosra Keyframe Create kar dega.
- Step 5: Playback karne par object smooth motion trajectory follow karega.
Module 6: Color Grading, Manual LUTs, Aur Color Correction
Raw video footage aksar dull ya desaturated dikhti hai. Colour grading ke zariye aap footage mein cinematic depth aur visual consistency add kar sakte hain.
Colour Correction Essentials:
Parameter
Function / Purpose
Exposure
Overall scene brightness control karne ke liye.
Contrast
Shadows aur Highlights ke difference ko sharpen karne ke liye.
Saturation
Colours ki overall richness ko control karne ke liye.
Vibrance
Skin tones ko preserve karte hue dull colours boost karne ke liye.
Temperature
Cool (Blue) ya Warm (Yellow) tone set karne ke liye.
Sharpening
Visual details aur edges ko crisp karne ke liye.
Module 7: Step-By-Step Editing Tutorial – Raw Video To High Quality Output
Beginners ke liye practical understanding sabse zaroori hai. Yahan ek complete practical walkthrough diya gaya hai ki kaise ek normal smartphone raw video ko high-quality cinematic Reel ya Short mein convert kiya jata hai.
Step 1: Media Import & Rough Cut
- VN App open karke New Project par tap karein aur apni raw clip select karein.
- Timeline par scroll karke jahan par aapne bolna start kiya hai, wahan Split karke shuruati blank part delete karein. Long pauses aur fumble points ko bich mein se cut karke nikal dein.
Step 2: Crop Aspect Ratio & Framing
- Top bar se Original / Frame Ratio par tap karein. Vertical Shorts/Reels ke liye 9:16 ratio select karein. Clip ko do ungliyon se pinch karke frame ke center mein properly fit karein.
Step 3: Colour Correction & LUT Application
- Clip select karein, Filter mein jayein aur Adjust tab par click karein.
- Contrast ko +10, Exposure ko -5 (agar lighting zayada hai), aur Vibrance ko +15 set karein. Iske baad ek clean cinematic LUT apply karke filter intensity 70% kar dein.
Step 4: AI Cutout & Text Behind Subject Effect
- Main clip ko copy karein aur use Overlay (PIP) layer par convert karke main clip ke thik upar align karein.
- Overlay clip ko select karke Cutout feature par tap karein.
- Ab Main Track aur Overlay Track ke beech mein ek Text Layer add karein (Jaise: “VIRAL REEL”). Text aapke subject ke pichhe chala jayega, jo ek ultra-professional look deta hai.
Step 5: Sound Design & Auto Captions
- Audio track par ja kar ek light background music import karein aur volume -20dB set karein.
- Important words ke screen par aate waqt Swoosh / Pop sound effect add karein.
- Auto Captions run karke yellow-black highlight style ke subtitles apply karein.
Bonus Tip: Custom Filter Presets & QR Code Templates
As a professional editor, main aapko ek ultra-fast workflow trick batata hoon jo bulk editing ke samay aapke ghanton ka kaam minutes mein kar sakti hai.
VN QR Code Preset Integration:
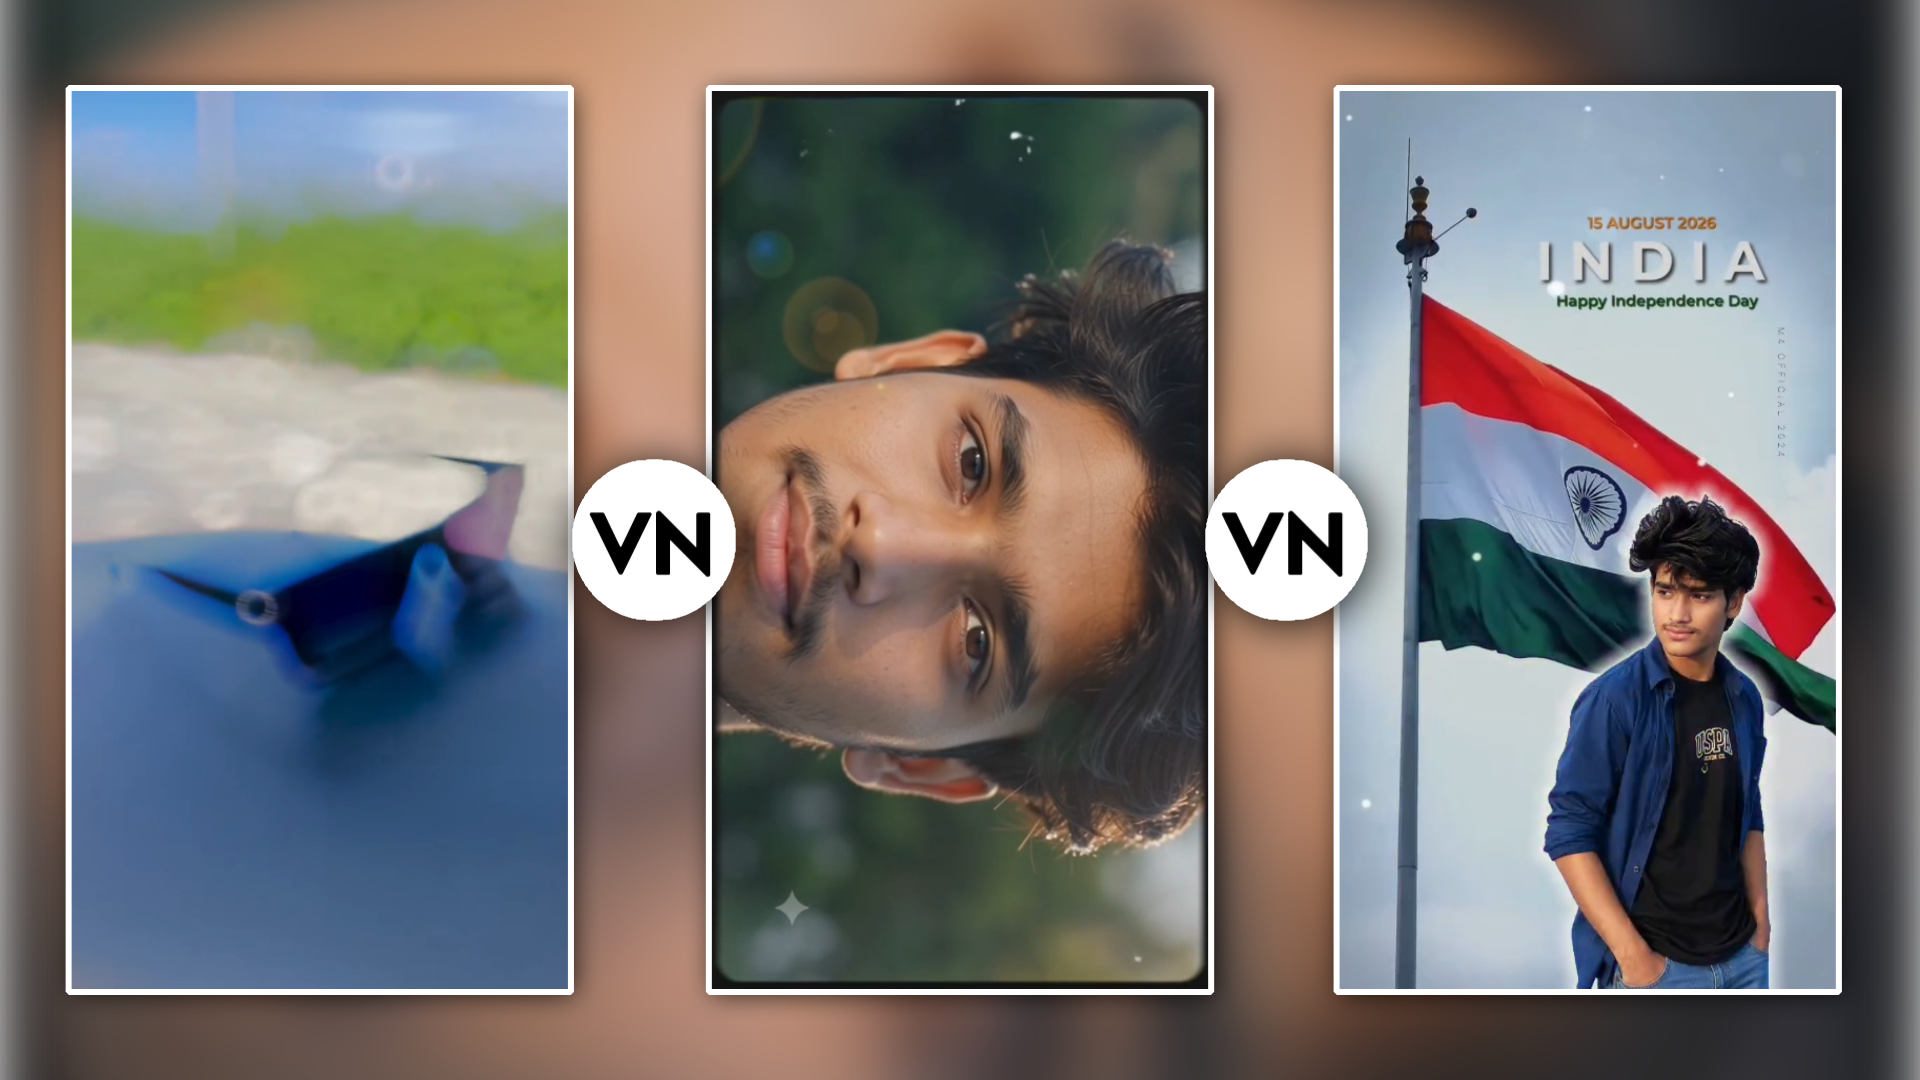
Take Screenshot👇


Take Screenshot 👇

Take Screenshot 👇

VN Video Editor mein creator community QR codes ke zariye preset styles, transition chains, aur colour grades share karti hai.
- App ke home screen par top-right corner mein Scan Icon par tap karein.
- Kisi bhi VN QR code image ko scan karein.
- Screen par dikhne wale Use Template ya Save Filter button par click karein.
- Yeh preset aapke app library mein permanently add ho jayega jisse aap single click mein apni nayi clips par apply kar sakte hain.
Professional High-Quality Export Settings Guide
Video edit karne ke baad use sahi export settings par render na karne se image compression aur colour banding ho sakti hai. Platforms ke mutabiq best export settings yahan di gayi hain:
Platform / Format
Resolution
Frame Rate (FPS)
Instagram Reels / Shorts
1080p (1080×1920)
30 FPS / 60 FPS
YouTube Long Videos
4K (3840×2160) / 1080p
30 FPS
Cinematic Vlogs
1080p (1920×1080)
24 FPS (Film standard)
Conclusion
Yeh Complete VN Video Editor Course beginners se lekar advanced creators tak sabhi ke liye ek practical aur complete learning asset hai. VN Video Editor aapko mobile device par desktop-grade precision aur control deta hai bina kisi cost ya software licensing issue ke.
Video editing ek aisi art form hai jo sirf theory padhne se nahi seekhi ja sakti. Mastery hasil karne ke liye aapko regularly timeline par kaam karna hoga, alag-alag speed curves explore karne honge, sound design ke sath experiment karna hoga, aur apni visual storytelling ko refine karna hoga. Apne mobile mein VN App open karein, raw footage import karein, aur aaj se hi professional editing skills practice karna start karein!