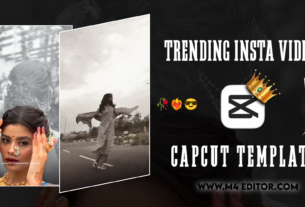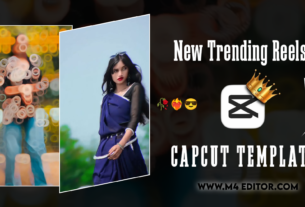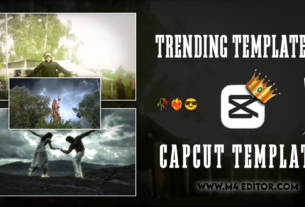
Capcut Template 👇
Hello dosto! Mera naam hai aur main ek professional video editor hoon, jise is editing industry mein 7 saal se zyada ka practical experience hai. Main apne YouTube channel “m4editorofficial” (jispar 13.6K se zyada subscribers hain) aur Instagram page “m4_editor_official” (jispar 145K followers hain) ke zariye daily trending editing content aur tutorials share karta hoon. Mera ek hi vision hai—is website par aap sabhi beginners ko real editing knowledge, secret techniques, aur premium guidance bilkul free mein dena. Yahan main aapko sirf copy-paste nahi, balki genuine editing skills sikhata hoon taaki aap bhi apni videos ko professional level par le ja sakein.
CapCut Template Use Kaise Kare: Viral Reels Banane Ka Pro GuideM4 52
Aaj ke time mein Instagram Reels aur YouTube Shorts par viral hona har creator ka sapna hai. Agar aap dhyan se dekhein, toh aajkal zyada tar trending videos mein ek hi tarah ke fast transitions, glitch effects aur beat-sync animations use hote hain. Yeh sab manually banana ek beginner ke liye bahut mushkil aur time-taking ho sakta hai. Yahin par kaam aate hain CapCut Templates. Lekin sirf template par click kar dena kaafi nahi hota, usko sahi tarike se optimize karna ek pro editor ki nishani hai.
Is detailed article mein hum na sirf yeh seekhenge ki CapCut Template Use Kaise Kare, balki main aapko kuch aisi advanced techniques bhi bataunga jo aapke content ko 10x better bana dengi. Toh chaliye, step-by-step is pure process ko samajhte hain.
CapCut Template Aakhir Kya Hai Aur Kyun Zaroori Hai?
CapCut ek bahut hi powerful video editing application hai, jo Bytedance (TikTok ki parent company) ne banayi hai. CapCut templates pre-designed video projects hote hain jinhe professional creators banate hain. In templates mein music, beat sync, color grading, effects, aur transitions pehle se set hote hain.
Aapko bas apni photos ya videos upload karni hoti hain, aur application automatically unhe beat ke hisaab se adjust kar deti hai. Iske Fayde:
- Time-Saving: Jo video manually banane mein 2 ghante lagenge, wo 2 minute mein ban jati hai.
- Trend Friendly: Instagram par jo audio trend kar raha hota hai, uske templates easily mil jate hain.
- Professional Look: Bina complex keyframing aaye, aapki video pro level ki lagti hai.
CapCut Template Use Kaise Kare? (Step-by-Step Practical Guide)
India mein CapCut directly Play Store par available nahi hai, isliye isko use karne ka process thoda alag hota hai. Niche diye gaye steps ko dhyan se follow karein.
Step 1: Ek Secure VPN Connect Karein
CapCut ke servers India mein block hain, isliye template load karne aur export karne ke liye VPN bahut zaroori hai.
- Play Store ya App Store se koi bhi achha aur fast VPN download karein (jaise Turbo VPN ya SuperVPN).
- VPN open karke ‘Singapore’ ya ‘US’ ka server select karke connect karein. (Singapore server par ping achhi milti hai, isliye main yahi recommend karta hoon).
Step 2: CapCut App Aur Template Find Karein
Aapke phone mein CapCut ka latest version install hona chahiye.
- Ab Google Chrome ya kisi browser par jayen aur search karein “Trending CapCut Templates”.
- Ya fir aap Instagram par kisi viral reel ko dekh rahe hain, toh wahan left side mein “Use Template in CapCut” ka option aata hai.
- Aap sidhe us link par click kar sakte hain.
Step 3: Template Ko CapCut Mein Open Karein
- Jaise hi aap link par click karenge, aapke samne ek naya page khulega jahan likha hoga “Use Template in CapCut”.
- Is par click karte hi aapki CapCut application automatically open ho jayegi.
- Wahan bottom right corner mein aapko green color ka “Use Template” button dikhega, us par tap karein.
Step 4: Apne Clips (Photos/Videos) SelectKarein
- Ab aapki gallery open ho jayegi. Niche template ki requirement likhi hogi (e.g., “Select 5 clips”).
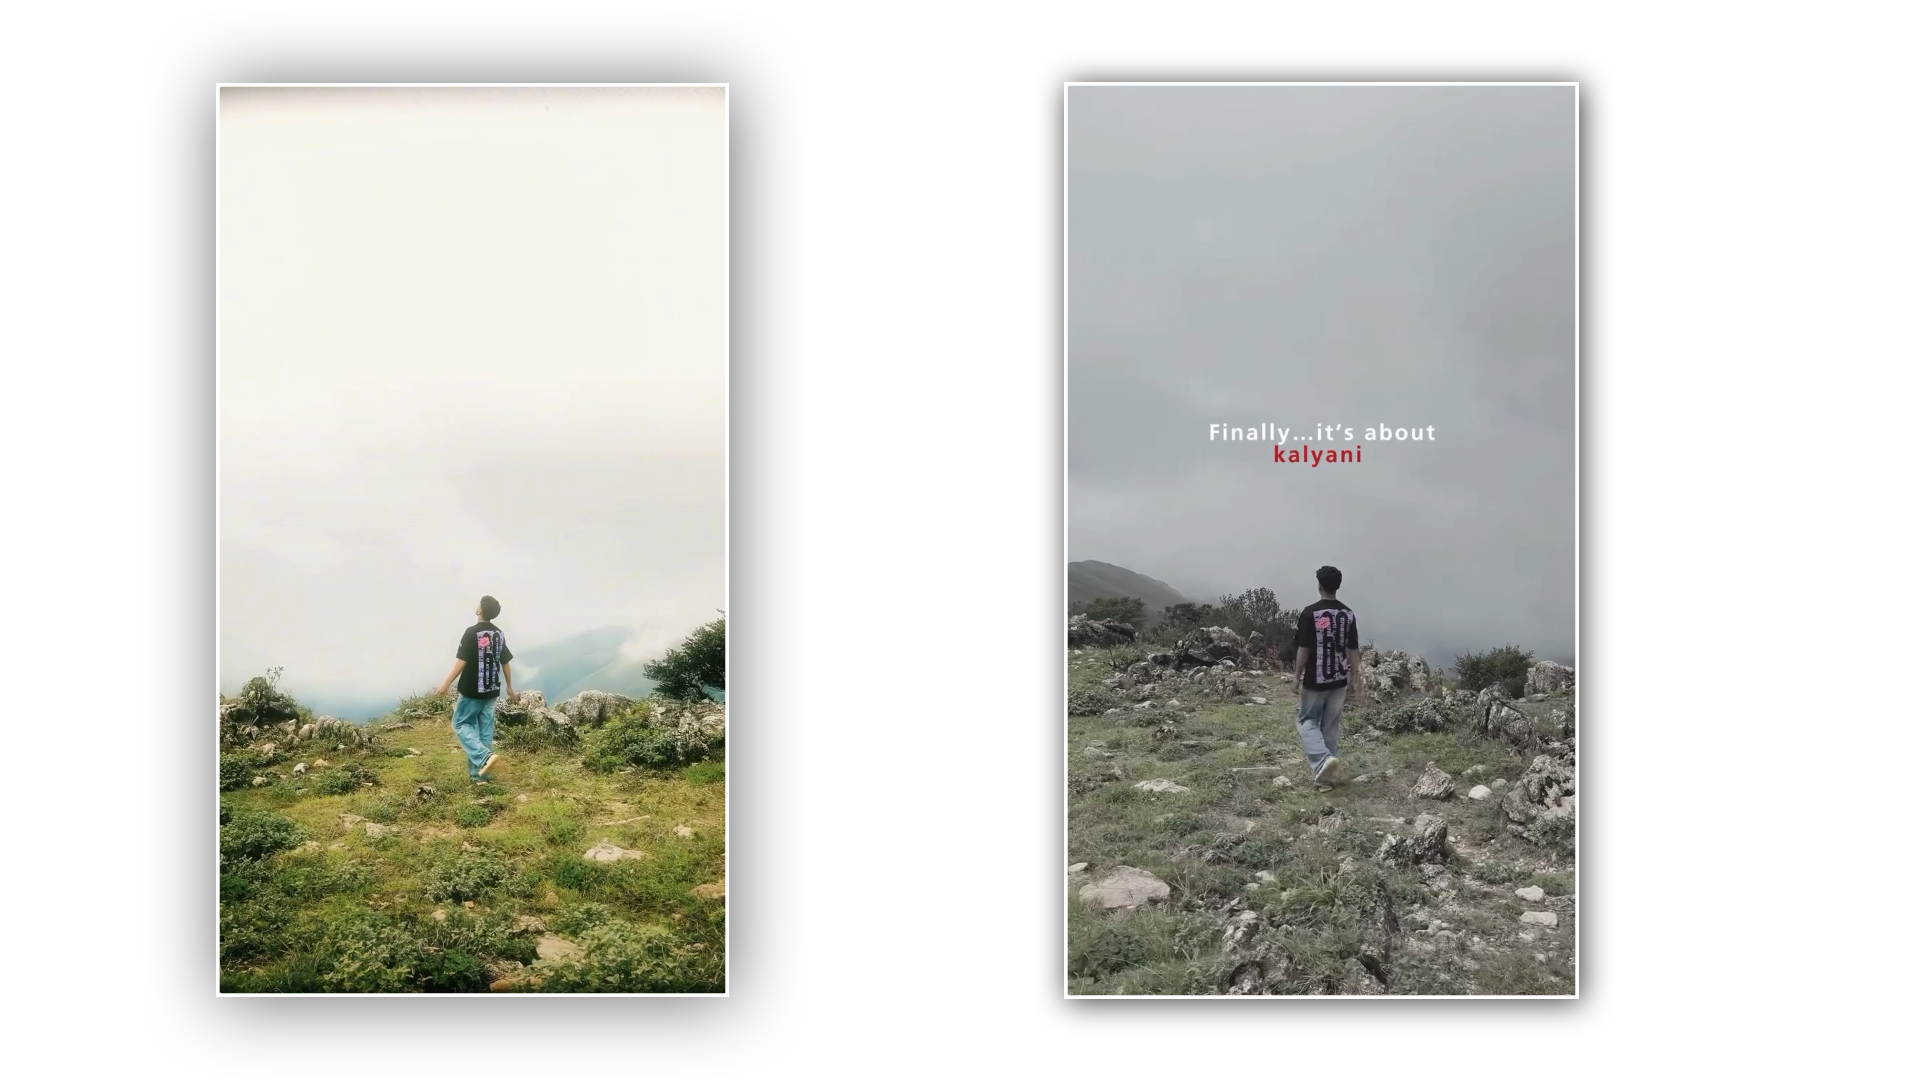
- Apni high-quality photos ya short video clips select karein. Dhyan rahe ki reels ke liye hamesha 9:16 aspect ratio (portrait mode) wali clips hi choose karein.
- Clips select karne ke baad ‘Preview’ ya ‘Next’ par click karein.
Step 5: Video Adjust Karein Aur Export Karein
- CapCut automatically video generate kar dega. Agar koi photo cut rahi hai, toh us clip par tap karke ‘Crop’ option se usko sahi position par adjust karein.
- Top right corner mein “Export” par click karein.
- Pro Tip: Hamesha “Export without watermark” wale option par click karein. Isse aapki video directly TikTok ya Instagram par redirect ho jayegi, lekin aapko wahan post karne ki zaroorat nahi hai. Aapki video bina watermark ke aapki gallery mein save ho jayegi.
Advanced Editing: Alight Motion Application Se 3D Video Editing Kaise Kare?
Bahut se mere followers mujhse puchte hain ki CapCut templates use karna toh aasan hai, lekin agar hume ekdum custom aur high-level ki 3D video banani ho tab kya karein? Yahin par Alight Motion ka role aata hai. CapCut templates fast workflow ke liye hain, lekin hardcore 3D editing ke liye Alight Motion best hai. Aaiye iski kuch advanced techniques samajhte hain:
1. 3D Camera Aur Null Object Ka Sahi Istemal
Alight Motion mein 3D effect dene ke liye Camera layer sabse important hai.
- Sabse pehle apni photos ko workspace mein add karein aur unhe 3D object mein convert karein.
- Phir ek “Camera” add karein aur uske sath ek “Null Object” link karein.
- Z-axis (depth) ka use karke photos ko aage-peeche set karein. Jab aap Null object ko aage ki taraf animate karenge, toh ek perfect 3D parallax effect create hoga.
2. Motion Blur Aur Keyframe Graph
Kisi bhi 3D movement ko natural dikhane ke liye sirf keyframes lagana kaafi nahi hai.
- Movement start hone par speed slow aur beech mein fast rakhne ke liye ‘Ease In & Ease Out’ graph ka use karein.
- Hamesha “Motion Blur” effect ko on rakhein, isse camera movement ekdum cinematic lagta hai aur robotic feel nahi aati.
3. Z-Axis Par Text Animate Karna
3D space mein text ko photos ke piche ya aage rakhna ek viral technique hai. Alight motion mein text layer ko duplicate karein, usko Z-axis par piche push karein aur opacity kam kar dein. Ye ek depth-of-field create karta hai jo viewers ko bahut attract karta hai.
(Note: Agar aap ek beginner hain, toh pehle CapCut templates master karein, fir dhire-dhire Alight Motion ke 3D workspace par shift hon.)
Viral CapCut Template Hacks Aur Techniques
Agar aap chahte hain ki aapki CapCut template wali video lakho logo tak pahuche, toh sirf basic steps follow karna kaafi nahi hai. In expert hacks ka use karein:
Hack 1: High-Quality (4K) Clip Input
Template use karte waqt hamesha dhyan rakhein ki aapki original photos ya videos highest resolution mein hon. Agar aap blur photos daalenge, toh template unhe aur zyada compress kar dega. AI enhacer tools (jaise Remini) ka use karke apni photos ko pehle 4K mein convert karein, fir template mein import karein.
Hack 2: Audio Replacement Technique
Kayi baar template ka transition bahut achha hota hai, lekin usme laga hua music outdated hota hai. Aise mein video ko CapCut se mute karke export karein. Phir us video ko Instagram Reels par upload karte waqt us trending audio ko background mein lagayen jiski reach sabse zyada ho. Ye ek SEO hack hai jo Instagram algorithm ko trick karta hai.
Hack 3: Velocity And Timing Check
Agar aap video clips use kar rahe hain, toh CapCut kabhi-kabhi wrong frame pick kar leta hai. Template ke ‘Edit Clip’ section mein jakar us video clip ko slide karein aur wo specific part choose karein jahan koi action ho raha ho (jaise ghumna, chalna, ya smile karna). Isse beat sync aur bhi zyada impactful lagega.
Bonus Tip: Secret Filters Aur Workflow Improvements
Meri 7 saal ki journey mein maine ek cheez notice ki hai ki jo content thoda “alag” dikhta hai, wahi viral hota hai. Jab aap apni video CapCut template se export kar lein, toh use directly post mat karein. Use dubara ek new CapCut project ya VN Editor mein open karein.
- Color Grading: Usme halka sa ‘Vignette’ add karein.
- Sharpening: Sharpness ko +20 ya +30 tak badhayen.
- LUTs: Ek cinematic filter ya dark moody filter apply karein.
Aisa karne se aapki video us hazaro logo ki bhid se alag dikhegi jinhone same template use kiya hai. Ye chota sa 1 minute ka extra effort aapke content ki quality (EEAT – Experience, Expertise, Authority, Trust) aur originality dono badha deta hai.
Common Mistakes Beginners Should Avoid
Ek professional editor hone ke naate, main roj aisi galtiyan dekhta hoon jo beginners karte hain aur unki reach down ho jati hai:
- Watermark Ke Sath Export Karna: Sabse badi galti! Agar aapki reel par “CapCut” ka logo dikh raha hai, toh Instagram ka algorithm use turant shadow-ban kar deta hai kyunki wo third-party logo ko promote nahi karte. Hamesha “Export without watermark” select karein.
- Wrong Aspect Ratio (16:9 Photos In 9:16 Video): Landscape photos ko vertical template mein dalne se photo beech mein choti si dikhti hai aur upar-niche black borders aa jate hain. Ye bahut un-professional lagta hai. Hamesha pehle photos ko 9:16 mein crop karein.
- Low-Speed VPN Use Karna: Agar aapka VPN slow hai, toh template mein lagay gaye effects theek se render nahi hote aur video lag karti hai. Ache VPN mein invest karein ya fast free server dhundhein.
- Over-using Templates: Har video mein same shake ya glitch template use karne se aapki audience bore ho jayegi. Kuch videos template se banayen aur kuch mein apni personal manual editing karein taaki aapki brand value bani rahe.
![]()
![]()
Important
Template work karega but Usse pehle VPN Connect kar Lena tabhi template work karega
TEMPLATE➡️
Important 👇
Template work karega but Usse pehle VPN Connect kar Lena tabhi template work karega
TEMPLATE LINK
Important 👇
Template work karega but Usse pehle VPN Connect kar Lena tabhi template work karega
Conclusion
Dosto, video editing ek aisi skill hai jisme aap jitna practice karenge, utna hi refine honge. CapCut Template Use Kaise Kare—yeh aaj ke time mein smart work ka sabse best example hai. Ye aapka bahut saara time bachata hai aur aapko trending content produce karne mein madad karta hai. Lekin hamesha yaad rakhein ki templates aapke helper hain, aapka pura career nahi.
Sath hi, agar aap Alight Motion se 3D video editing jaise advanced concepts seekhna chahte hain, toh usme bhi apna time invest karein. Apni creativity ko templates ki boundary mein limit na rakhein. Export karne ke baad color grading zarur karein, aur quality se kabhi samjhauta na karein.
Main umeed karta hoon ki is article se aapko ek pro editor jaisi clarity mili hogi. Agar aapko koi bhi step samajhne mein problem aayi ho, toh is process ko dubara padhein aur practically phone haath mein lekar apply karein. Editing ki is journey mein lagatar seekhte rahiye, aur nayi techniques try karne se bilkul mat ghabraiye. Best of luck aapki next viral reel ke liye! Keep editing, keep growing!