Mera naam MD Maqsood hai aur digital video post-production ke space me mujhe kaam karte hue 7 saal se zyada ka waqt ho chuka hai. Main apne YouTube channel m4editorofficial (13.6K+ subscribers) aur Instagram community m4_editor_official (145K+ family) ke through emerging creators aur aspiring editors ko industry-standard techniques, automation tools aur advanced editing workflows bina kisi cost ke sikhata hoon. Mera purpose hamesha yahi rehta hai ki complex modern technology ko practical aur simple language me breakdown kiya jaye taaki har creator apne visual content ko bina technical jhanjhat ke elevate kar sake.
Flow AI Kaise Use Kare? Step-by-Step Guide M4 135
Digital content creation aur automated workflows ki duniya me Artificial Intelligence ne kaam karne ke tareeqe ko poori tarah badal diya hai. Aaj ke fast-paced visual era me agar aap wahi purane traditional manual steps follow karte rahenge, toh aapka aadha waqt repetitive aur boring tasks me chala jayega. Yahin par entry hoti hai smart generation systems ki, jisme Flow AI creators, editors aur automation enthusiasts ke liye ek versatile platform ban kar ubhra hai.
Chahe aapko smart text-to-workflow design karna ho, dynamic video assets handle karne hon, prompt-driven nodes connect karne hon ya fir repetitive processing ko automate karna ho, Flow AI kaise use kare yeh samajhna har new-age creator ke liye basic requirement ban chuka hai. Is comprehensive beginner-friendly masterclass me hum Flow AI ke account setup se lekar advanced visual logic pipeline tak ka pura process practical insights ke sath explore karenge.
Flow AI Kya Hai Aur Yeh Modern Creators Ke Liye Kyun Zaroori Hai?
Flow AI ek advanced visual programming aur automation ecosystem hai jo logic pipelines, prompt processing aur asset creation ko ek node-based interface par connect karta hai. Traditional AI applications me aap sirf ek prompt daalte hain aur output mil jata hai, lekin Flow AI me aapko step-by-step logic customise karne ka control milta hai.
- Node-Based Architecture: Yahan har function (Input, Prompt, Transformer, Model, Output) ek visual block ke roop me kaam karta hai jise aap wire ki tarah drag-and-drop karke connect karte hain.
- Multi-Model Integration: Aap single workspace ke andar alag-alag AI models (LLMs, Diffusion Models, Upscalers) ko integrate karke ek continuous streamlined pipeline ready kar sakte hain.
- Time Efficiency: Video production, script development, caption automation aur graphic asset iteration jaise ghanton ke tasks ko yeh automated trigger system seconds me execute kar deta hai.
Agar aap apne editing projects ya daily content routine me scale lana chahte hain, toh is platform par command hona aapke production budget aur time dono ko massive scale par save karega.
Step 1: Flow AI Account Setup Aur Workspace Configuration
Platform par kaam shuru karne ke liye aapko clean setup aur workspace layout ki samajh honi chahiye. Ghalat workspace selection process ko unnecessarily complicated bana deta hai.
Setup Process:
- Platform Access: Official Flow AI portal par jayein aur apne verified business ya personal Google ID ke sath authenticate karein.
- Dashboard Navigation: Login ke turant baad aapko ek blank infinite canvas dikhai dega. Top navigation panel par aapko Canvas Engine, Node Library, Template Store, aur Cloud Export ke sections milenge.
- Project Canvas Initialize: “Create New Flow” par tap karein aur canvas ko ek clean name dein (jaise: Content_Automator_V1).
- Hardware Acceleration Setup: Workspace settings me jakar hamesha ensure karein ki GPU Cloud Rendering toggle ON ho, taaki render latency na aaye.
Beginner Tip: Kabhi bhi directly scratch se complex node network mat banaiye. New users ko start me hamesha basic pre-built layout observe karna chahiye taaki input-to-output data routing clear samajh aa sake.
Step 2: Canvas Navigation Aur Core Nodes Ko Samjhana
Flow AI ka core system nodes par run karta hai. Nodes simple blocks hote hain jinka specific function hota hai. Inhe correctly wire karna hi aapke pure project ka main engine hai.
Essential Core Nodes:
- Input Node: Yeh aapka starting point hai jahan text prompts, raw images, ya voice clips inject kiye jate hain.
- Processing / Model Node: Yeh AI engine ka dimag hai. Yeh input data ko process karke image, video animation, script structure ya logic me convert karta hai.
- Condition Node (Logic Filter): Agar aap conditional decisions chahte hain (jaise: “Agar resolution low ho toh upscale karo, warna export karo”), yeh node data filter karta hai.
- Output / Render Node: Yeh aapke pure flow ka final stop hai jahan aap High-Definition output files ko download ya auto-export karte hain.
In blocks ko connect karne ke liye har block ke right corner (output socket) se wire click-drag karke agle block ke left corner (input socket) par drop kiya jata hai.
Step 3: First Automation Flow Build Karna (Prompt to Visual Pipeline)
Chaliye ek real-world workflow build karte hain jahan hum ek raw visual concept ko automated studio asset me convert karenge. Yeh workflow creators ke social media graphics aur b-roll generation ke liye sabse useful mana jata hai.
[Text Input Node] —> [AI Generation Engine Node] —> [Enhance/Upscale Node] —> [Final Export Node]
Execution Steps:
- Canvas par right-click karein aur search bar me Text Input type karke use canvas par place karein.
- Text Input box ke andar precise style descriptors mention karein (jaise: Cinematic urban lighting, 8k resolution, photorealistic depth of field, neon accents).
- Ek Image Generation Engine node add karein aur Text Input ke connector pin ko Engine ke “Prompt Input” pin se connect kar dein.
- Engine settings me Aspect Ratio select karein (Shorts/Reels ke liye 9:16 ya Long-form videos ke liye 16:9).
- Engine ke output pin ko ek AI Upscaler Node se join karein taaki micro-details sharpen ho sakein.
- Upscaler ke final node ko Export Node se connect karein aur top right corner par bane Run Flow button par click kar dein.
Kuch hi seconds me aapka continuous automated render complete ho jayega aur ek ultra-sharp creative visual screen par generate ho jayega.
Step 4: Logic Customisation Aur Advanced Modifiers Ka Use
Basic setup ke baad system ki full power tab unlock hoti hai jab aap conditional modifiers use karte hain. Flow AI aapko seedha seedha repetitive experimentation karne ka control deta hai.
Variables Aur Seeds Ka Control:
- Seed Value Fixation: Agar aapko visual style me consistency chahiye (jaise aap ek character ya brand look bana rahe hain), toh generation node me Seed value ko Random se hata kar Fixed Number par lock kar dein. Isse character ka face aur lighting across multiple prompts change nahi honge.
- Negative Prompts Node: Ek secondary text input create karein jisme aap unwanted elements enter karein (jaise: blurry, bad anatomy, low frame rate, extra limbs, grain). Is node ko generator ke Negative Prompt Input se map karein.
Is approach se output ki accuracy dramatically increase hoti hai aur aapko bar-bar prompt re-run karke server credits waste nahi karne padte.
Step 5: Exporting, Cloud Sync Aur Timeline Integration
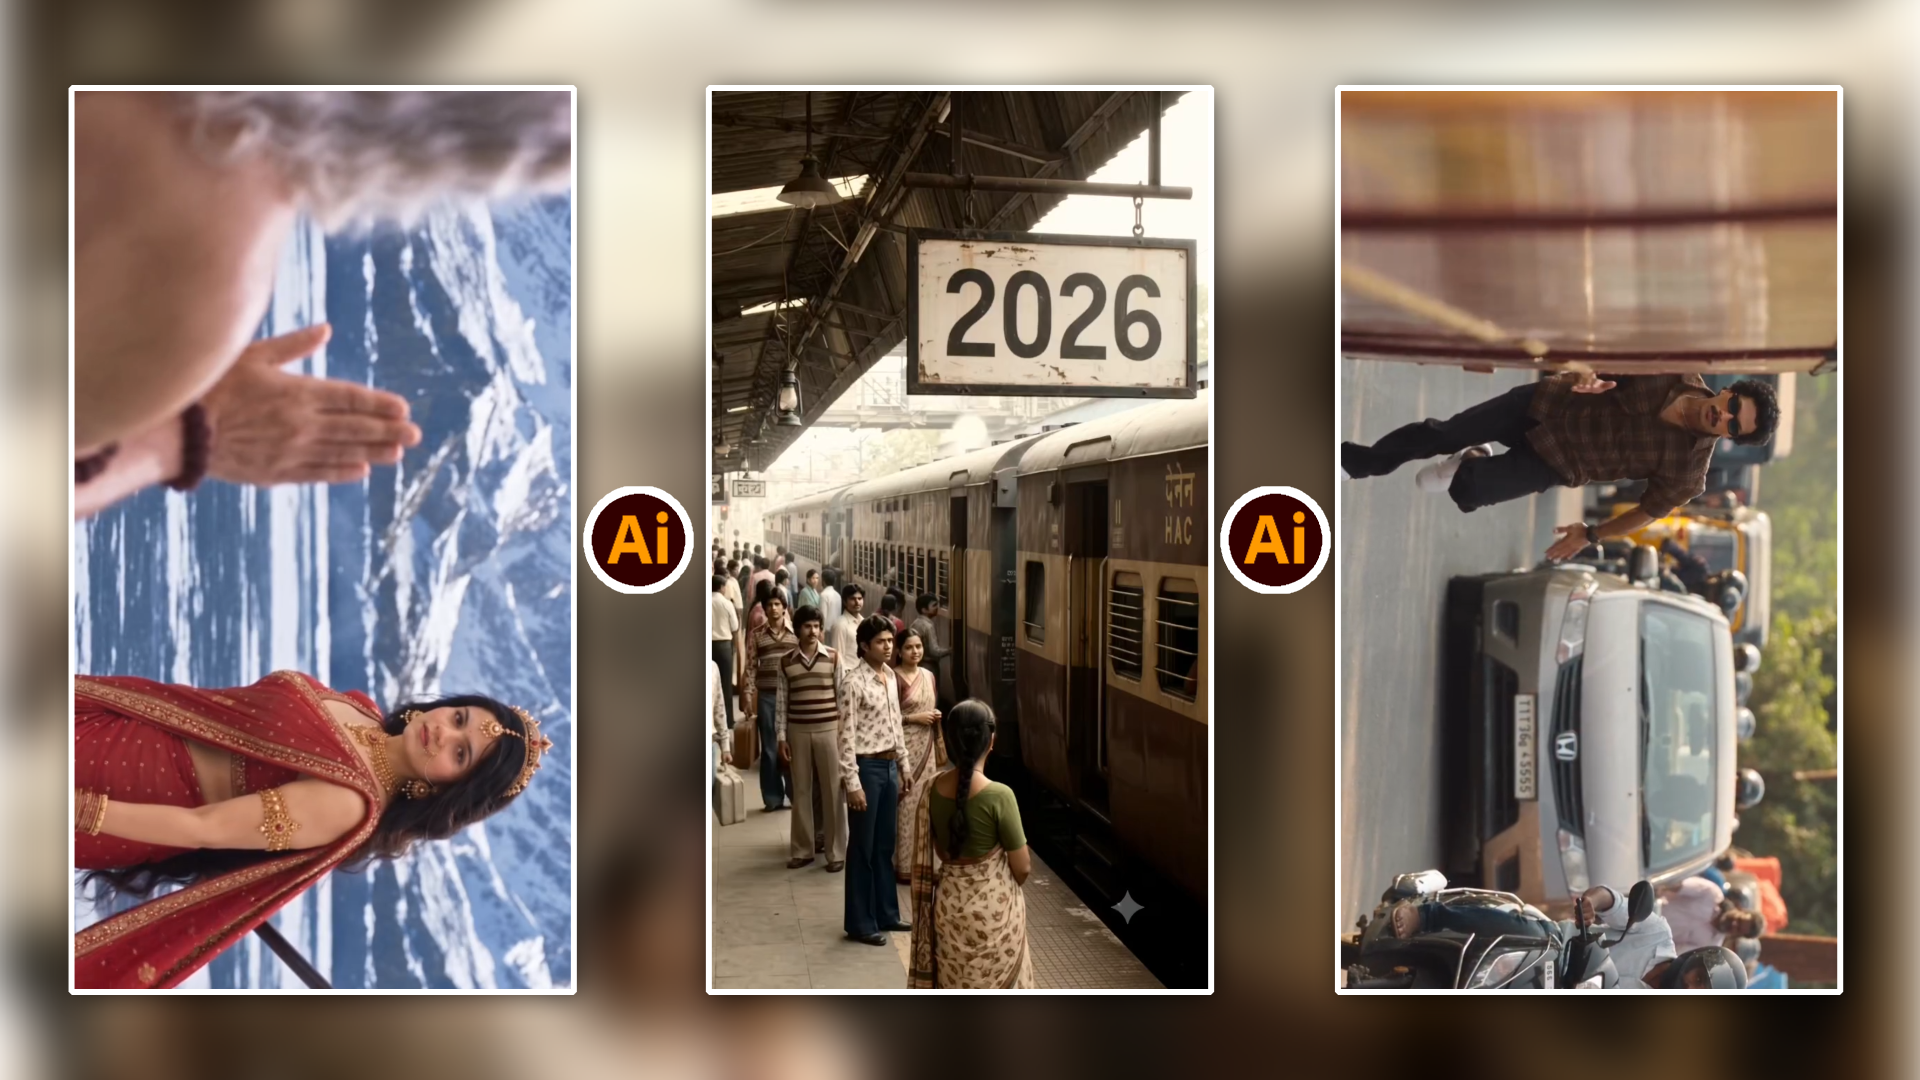
Video Prompt 👇

Generated data ko external production pipelines me use karna workflow ka last critical bridge hai.
- Format Selection: Video workflows ke liye hamesha ProRes 422 ya High-Bitrate MP4 (H.264) export profile pick karein taaki quality drop na ho.
- Batch Export Mode: Agar aapne multiple visual variants render kiye hain, toh single-click me Batch Export Zip select karein taaki saare iterations ek structured folder me download ho jayein.
- Direct Cloud Webhook: Advance users Export Node ko Google Drive ya Dropbox ke webhook se integrate kar sakte hain. Isse assets generate hote hi directly aapke cloud drive par automatically upload ho jate hain, jahan se aap unhe Premiere Pro, DaVinci Resolve ya VN Editor me import kar sakte hain.
Flow AI Ke Top Practical Use Cases Creators Ke Liye

Video Prompt 👇
Content Type
Best Node Configuration
Cinematic B-Rolls
Motion Diffusion + Latent Upscaler
Social Media Hooks
Text-to-Audio + Dynamic Subtitle Node
Visual Storyboarding
Fixed-Seed Script Node + Multi-panel Canvas
Thumbnail Enhancements
Face-Isolation Node + Saturation Boost
Bonus Tip: Infinite Looping Smart Upscale Hack

Video Prompt 👇
Ek professional secret jo editing pipeline me rendering quality ko 2x boost karta hai:
Aap canvas par apne output node se pehle ek Secondary Latent Denoise Node attach karein.
- Denoise strength ko strict 0.25 se 0.30 par rakhein.
- Iske baad visual ko directly export karne ki jagah ek Unsharp Mask Node se pass karwayein.
Yeh minor step algorithm ko force karta hai ki background textures (jaise skin pores, cloth fibres, aur light flares) ko artificially flat na kare. Is micro-pipeline se output AI-generated plasticity se hat kar ekdam organic lens se shoot kiya gaya realistic footage lagta hai.
Conclusion
Flow AI jaise automated systems creators ke visual thinking process ko infinite control dete hain. Shuruat me node-based structure thoda technical lag sakta hai, par ek baar jab aap basic input-output mapping aur dynamic modifiers ki core pipeline samajh jaate hain, toh ghanton ka tedious content work minutes me automate ho jata hai. Aaj hi apna pehla simple flow canvas setup karke practice start karein, naye nodes explore karein aur apne production quality ko modern standards ke according streamline karein. Consistent experimentation hi aapko digital automation me expert banata hai.