Instagram Reel Couple Viral Cinematic CapCut Tutorial 2026: Step-by-Step Beginner Guide M4 86
Hey guys! Main hoon ek professional video editor aur pichle 7+ saalon se editing industry mein active hoon. Is creative field mein kaam karte hue maine m4editorofficial YouTube channel par 13.6K subscribers aur apne Instagram page m4_editor_official par 145K followers ki ek amazing community build ki hai. Is website ko start karne ka mera ek hi maksad hai—jo practical editing knowledge aur advanced pro-hacks maine saalon ki mehnat se seekhe hain, wo aap sabhi beginners ko ekdum free aur aasan bhasha mein sikha sakoon.
Aaj kal Instagram Reels par vertical aesthetic content ka boom chal raha hai. Agar aap apna Instagram feed scroll karenge, toh aapko aisi hazaron couple videos dekhne ko milengi jo dekhne mein bilkul kisi high-budget Hollywood film ke scene jaisi lagti hain. Smooth slow-motion, moody cinematic colours, aur perfect beat-matching ki wajah se aisi reels par instantly lakhon-milyons mein views aur engagement aati hai.
Agar aap ek absolute beginner hain aur aapko lagta hai ki aisi video banana bohot complex hai, toh tension mat lijiye. Aaj ke is Instagram Reel Couple Viral Cinematic CapCut Tutorial 2026 ke tutorial mein hum bilkul zero level se shuru karke, step-by-step poora process seekhenge. Aapko bas apne smartphone aur CapCut app ki zaroorat hai. To chaliye, timeline par chalte hain!
Step 1: Raw Footage Shoot Karna (High-Quality Camera Settings)
Ek badhiya cinematic video editing table par nahi, balki shoot ke waqt hi shuru ho jaati hai. Agar aapka raw footage clean nahi hoga, toh koi bhi filter professional nahi bana payega.
Camera Framework Optimisation:
- Resolution & Frame Rate: Apne smartphone ka default camera app open karein. Settings mein jaakar video quality ko 1080p ya 4K par lock karein aur frame rate ko strictly 60FPS (Frames Per Second) par set karein. 60FPS par shoot karna sabse zaroori hai, taaki jab hum baad mein video ko slow-motion karein, toh video jhatke na le (smooth chale).
- Grid Lines & Composition: Camera settings mein Grid option ko turn on karein. Shoot karte waqt couple ko hamesha center framework frame mein rakhein ya fir side ki vertical lines par lines par align karein (Rule of Thirds).
- Stability Hack: Apne phone ko dono haathon se body ke paas hold karein taaki natural shakes ko avoid kiya ja sake. Cinematic look ke liye hamesha slow walking shots ya subtle panning movements hi record karein.
Step 2: CapCut Workspace Setup, Aur Trending Audio Integration
Ab jab aapke paas raw clips ready hain, toh waqt hai editing tool setup karne ka.
Project Setup Step-by-Step:
- Project Import: Apne phone mein CapCut application open karein (dhayan rahe ki iska advanced engine access karne ke liye aap ek stable network connection ya VPN use kar rahe hon).
- Select Media: New Project par tap karein aur gallery se un saari couple clips ko select karke timeline par le aayein jo aapne abhi shot ki hain.
- Aspect Ratio Alignment: Niche diye gaye toolbar se Ratio panel par click karein aur 9:16 layout select karein (jo ki Instagram Reels ka native size hai). Agar video side se thodi khali dikhe, toh clip par tap karke do ungliyon se split karke screen par stretch/zoom kar lein.
- Audio Extraction: Add Audio option par jayein, Extracted par click karein aur jo bhi Instagram trending romantic audio aapne save kiya hai, uski video select karke uska sound background mein import kar lein. Audio timeline par aane ke baad, waves ke matching peaks (beats) par manual split points block kar lein.
Step 3: Cinematic Velocity Curve (Smooth Slow-Mo Hack)
Normal speed change karne se video natural nahi lagti. Cinematic aesthetic create karne ke liye hume simple slow-mo ke badle Speed Ramping (Velocity Curve) ka use karna hoga, jahan clip kabhi fast aur kabhi slow hoti hai.
Speed Adjustment Guide:
- Timeline par apni targeted clip par tap karein aur neeche ke options se Speed ko select karke Curve par click karein.
- Wahan diye gaye presets ke badle Custom option choose karein aur Edit par tap karein. Aapko screen par 5 dots dikhenge jo speed control karte hain.
- The Wave Pattern: Shuruat ke dot ko halka sa upar (1.5x) karein taaki shot fast start ho. Aur jahan par couple ka main transition point ya key action hai (jaise smile karna, look exchange, ya hand hold), wahan par dot ko niche drop karke 0.3x ya 0.2x par lock kar dein.
- Optical Flow Activation: Dot drop karne ke baad niche dikh rahe. Make it smoother option par click karein aur Better Quality select karein. CapCut ka advanced engine frames ko duplicate kiye bina clip ko ekdum buttery smooth bana dega.
Step 4: Seamless Custom Camera Transitions Apply Karna
Jab aap ek clip se dusri clip par shift hote hain, toh beech ka cut achanak se nahi aana chahiye. Wo bilkul smooth aur seamless hona chahiye taaki viewer ka flow na toote.
Transition Implementation Guide:
- Timeline par jahan do clips aapas mein split/join ho rahi hain, wahan beech mein aapko ek chota sa White Box dikhega, us par click karein.
- Cinematic Presets Selection: Base menu se Camera category par click karein. Yahan beginners ke liye sabse best options hain Pull In, Pull Out, ya Dynamic Blur.
- Duration Locking: Transition ki duration window ko bohot lamba mat rakhein. Ise hamesha 0.3 seconds se 0.5 seconds ke beech mein set karein. Isse frame cuts itne fast aur smooth honge ki audience ko achanak se change mahsoos nahi hoga.
Step 5: Professional Hollywood Colour Grading (Teal & Orange Tone)
Aapke phone se record ki gayi normal video ko professional premium film jaisa dikhane ke liye hum manual colour settings use karenge. Koi automatic filter use karne ki zaroorat nahi hai.
Manual Adjustment Engine Values:
Niche diye gaye main toolbar se Adjust layer active karein aur video par click karke in specific parameters ko input karein:
- Contrast (+10 to +12): Yeh shadows aur highlights ke beech deep separation banata hai.
- Saturation (-5): Colours ko halka sa down-scale karein taaki video fake ya cartoonish na lage.
- Sharpen (+25 to +30): Yeh step sabse critical hai. Yeh low-end phone video ki details ko ekdum clear HD texture mein covert kar deta hai.
- Highlights (-8) & Shadows (+5): Background highlights control honge aur shadows lifelike natural depth reflect karengi.
- HSL Tool (Orange Point): HSL selection panel mein jaakar Orange colour choose karein. Iska Luminance +10 karein taaki couple ka skin tone automatically brighter aur glowing dikhne lage.
Step 6: Layering Cinematic Foley Sound Effects (SFX)
Sirf background music laga dene se cinematic video complete nahi hoti. Audio layers mein professional depth dene ke liye hum sound design karenge.
Audio Mapping Guide:
- Transition Sync: Jahan par aapne step 4 mein camera transition lagaya tha, theek us cut ke niche audio timeline par jayein.
- Whoosh FX Add Karein: Audio > Effects par click karke search bar mein text input karein “Whoosh”. Ek clean swift sound select karke use clip change point par apply kar dein.
- Ambient Layering: Agar aapki video beach ya park ki hai, toh halka sa background environment sound (jaise wind rumble ya birds chirping) sound effects store se import karein aur us volume bar ko slider se drag karke -25dB par kar dein. Yeah, sound sirf ek light feel dega aur main gaane ko disturb nahi karega.
Bonus Tip: Ultra-HD 4K Export Layout Matrix
Edit poori ho jane ke baad aksar jab video Instagram Reels par upload hoti hai, toh uski quality drop ho jaati hai kyunki platform use compress kar deta hai. Is digital compression matrix se bachne ke liye ye setup follow karein:
Project complete hone par export window (top right corner) par tap karein. Resolution ko 1080p (jo Instagram ka maximum processing standard hai) par rakhein, Frame Rate ko 60 FPS par lock karein aur Codec Bitrate line ko slider se drag karke High par shift kar dein. Video export karne ke baad, jab aap use Instagram par upload karne jayein, toh Advanced Settings ke andar jaakar “Upload at Highest Quality” setting ko hamesha ON rakhein.
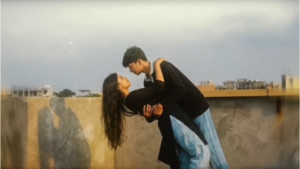
Video Prompt 👇
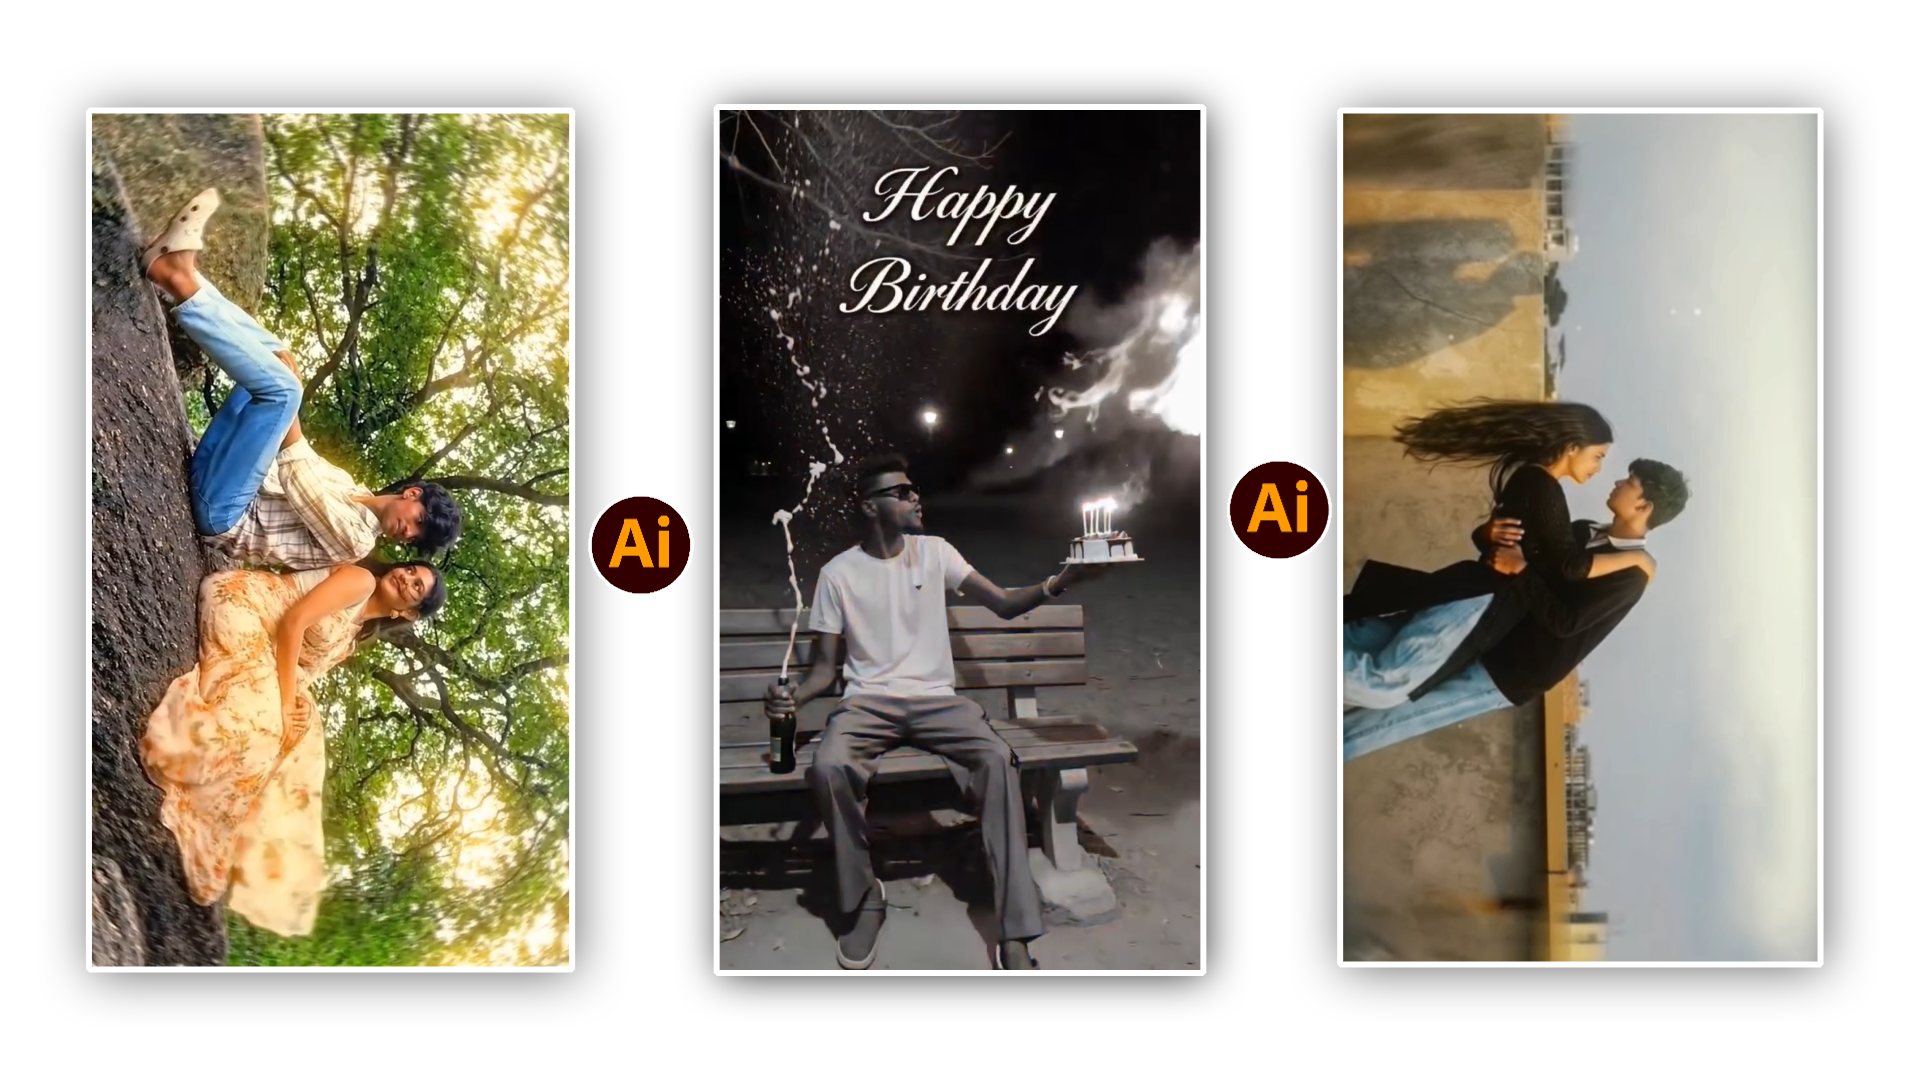
Use my uploaded photo as the main character. Keep my face 100% identical with no changes. Create a realistic romantic cinematic rooftop scene at golden hour. A beautiful girl wearing an elegant black dress naturally walks toward me, gently wraps her arms around my neck, and I softly hold her around the waist. She leans back into a graceful dip while we maintain natural eye contact and subtle smiles. Our movements are smooth, realistic, and emotionally expressive. Her long hair flows naturally in the wind, our clothes move with the breeze, and the camera performs a slow cinematic dolly-in followed by a gentle orbit around us. Add warm golden-hour lighting, soft depth of field, realistic shadows, premium movie-style color grading, ultra-realistic human motion, DSLR quality, 4K Ultra HD, highly detailed skin textures, no face distortion, no identity change, no extra people, no glitches, no flickering, no text, no watermark.
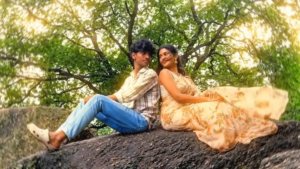
Video Prompt 👇
“Cinematic video showing a young man sitting alone on a rock in a peaceful outdoor setting. After a few seconds, a beautiful young Indian woman in an elegant saree gently walks into the frame, sits down next to him, and looks at the man with a deep, loving smile, radiating a sweet love story vibe. Natural body movement, soft lighting, and seamless motion.”
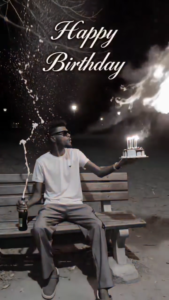
Video Prompt 👇
Static camera, one continuous 6-second shot, vertical 9:16, ultra-photorealistic night park with warm street lights, cinematic bokeh, and film-quality lighting. A man wearing black suite walks naturally into frame carrying a birthday cake with lit “22” candles in one hand and a champagne bottle in the other. He sits naturally on the bench, naturally holding the cake in front of his without placing it on the bench. he briefly shakes the champagne bottle with controlled excitement while still holding the cake. he then forcefully slams the bottom of the champagne bottle against on the bench. At the exact same instant, he leans toward the cake and blows out the candles. The cork explodes off precisely as she blows, creating perfect synchronized timing. A powerful champagne fountain erupts upward and sprays continuously with realistic pressure, droplets, mist, and natural physics. Simultaneously, his breath seamlessly transforms into a smooth cinematic fire-breath effect, growing into a bright, realistic flame that illuminates his face, hair, dress, and the surrounding scene. Champagne spray, smoke, sparks, glowing embers, and volumetric lighting fill the frame while maintaining realistic interactions. Ultra-realistic Hollywood cinematic quality, physically accurate fire simulation, realistic champagne spray dynamics, natural body movement, perfect synchronization between candle blow, cork pop, champagne eruption, and fire breath, no text, no watermark, no extra people.

The Algorithmic Growth Hook for Vertical Reels
Modern social media landscape mein audience ka attention span bohot short ho chuka hai. Ek beginner ke roop mein hamesha koshish karein ki aapki couple reel total duration frame mein 7 se 11 seconds se badi na ho. Choti aur fast-paced loops ko log baar-baar dekhte hain, jisse aapka viewer retention analytics boost hota hai aur Instagram engine video ko automatically feed par feature karne lagta hai.
Conclusion
Ek professional Instagram Reel Couple Viral Cinematic CapCut Tutorial 2026 workflow par master karne ke liye kisi professional background ki zaroorat nahi hai. Bas aapko tools ke application ka right combination chalana aana chahiye. Baseline steps ko closely monitor karein, tools ke custom graph features ke sath daily practice karein aur templates par depend rehne ke bajaye manually adjustments explore karein. Apne creative visual control ko upgrade kijiye aur digital creation ke is safar mein aage badhiye!